Table of Contents
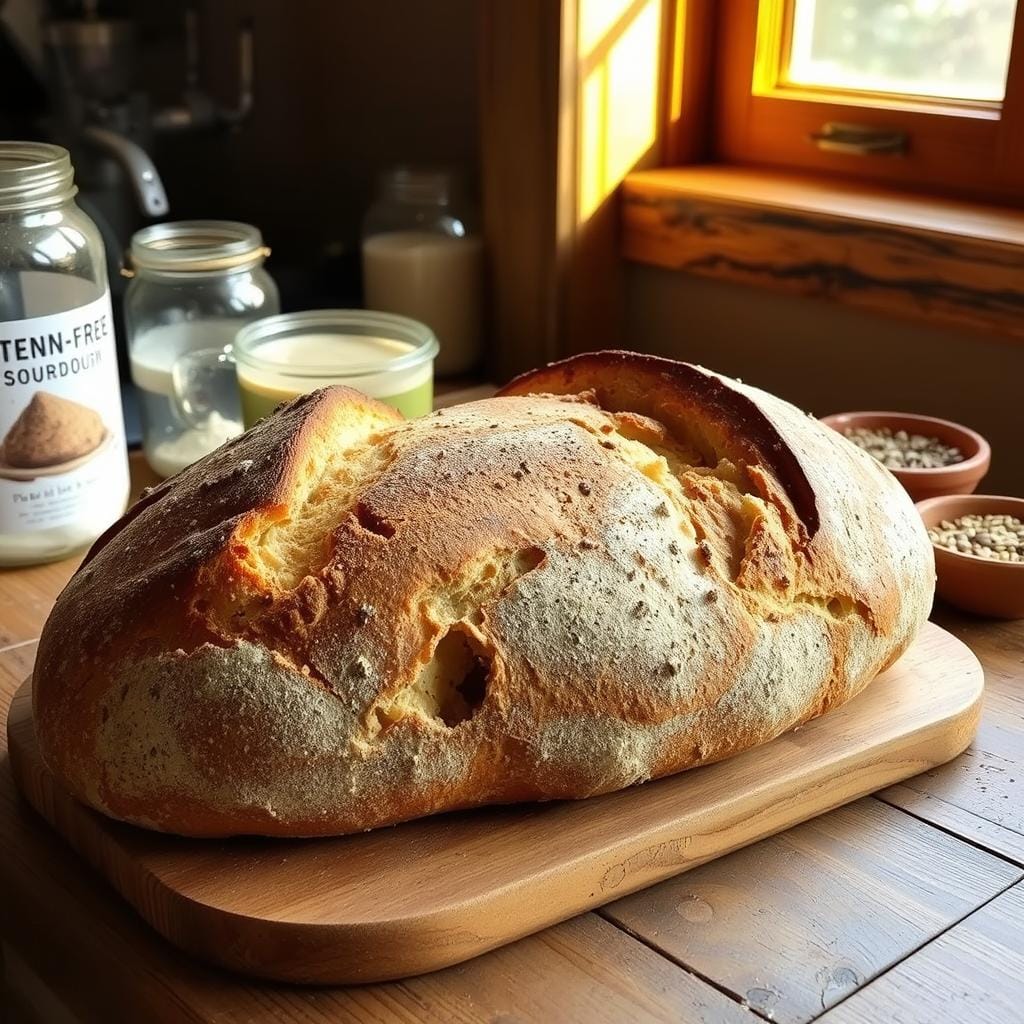
Every morning, I wake up to the enticing aroma of freshly baked bread. This journey was impossible when I first found out I had gluten sensitivity. My kitchen turned from a place of dietary frustration to a sanctuary of delicious gluten-free sourdough exploration.
Making gluten-free bread is more than just avoiding wheat; it’s an art form. It needs precision, patience, and passion. After years of experimenting with sourdough starter recipes, I found that making the perfect gluten-free loaf is both a science and a celebration of culinary creativity.
This guide will take you through every step of making extraordinary gluten-free sourdough bread. You’ll learn how to select the right flours and master fermentation techniques. These techniques bring out incredible flavor and texture.
Key Takeaways
- Understand the unique challenges of gluten-free sourdough baking
- Learn essential techniques for developing robust sourdough starters
- Discover how to select the best gluten-free flour blends
- Master fermentation processes that enhance bread quality
- Explore creative variations and troubleshooting methods
What is Gluten-Free Sourdough?
Gluten-free sourdough is a new way to make bread for those with gluten issues. It uses special flours and fermentation to make tasty, easy-to-digest bread.
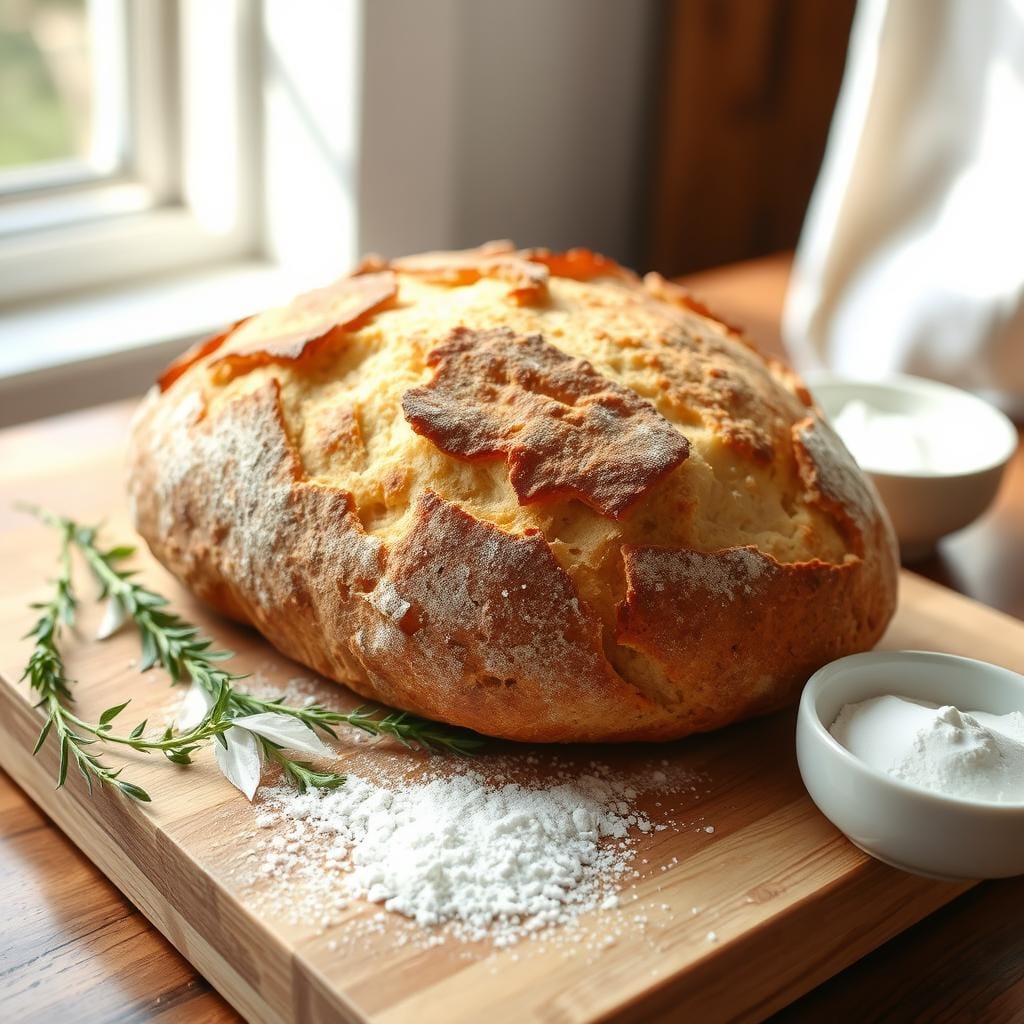
In the U.S., foods must have less than 20 parts per million (ppm) of gluten to be labeled gluten-free. Regular bread can have up to 124,000 ppm. So, gluten-free bread is key for many people’s health.
Understanding Gluten-Free Flours
Choosing the right gluten-free flours is key for sourdough success. Here are some top picks:
- Brown rice flour
- Sorghum flour
- Teff flour
- Millet flour
- Potato starch
- Tapioca flour
“The art of gluten-free sourdough is about understanding each flour’s unique properties and how they interact during fermentation.” – Artisan Baker’s Insight
The Science Behind Sourdough Fermentation
Sourdough fermentation uses wild yeast and bacteria to break down carbs. This process not only adds flavor but also makes the bread easier to digest.
Important fermentation tips include:
- Longer fermentation can lower gluten levels
- Preferment should rest for 6-18 hours
- Proofing for at least 3 hours adds depth of flavor
By grasping these concepts, home bakers can make gluten-free sourdough that’s just as good as traditional bread.
Ingredients You’ll Need for Gluten-Free Sourdough
Making the perfect gluten-free sourdough needs careful picking of ingredients. My baking journey has shown me that every ingredient is important. They all work together to make a tasty and healthy loaf.
Essential Gluten-Free Grains
Choosing the right gluten-free grains is key to great sourdough. I’ve found that mixing different flours can change your baking for the better:
- Teff flour: It’s packed with nutrients and protein
- Millet flour: It’s light and has a mild taste
- Sorghum flour: It gives the bread a great texture
- Brown rice flour: It helps the bread keep its shape
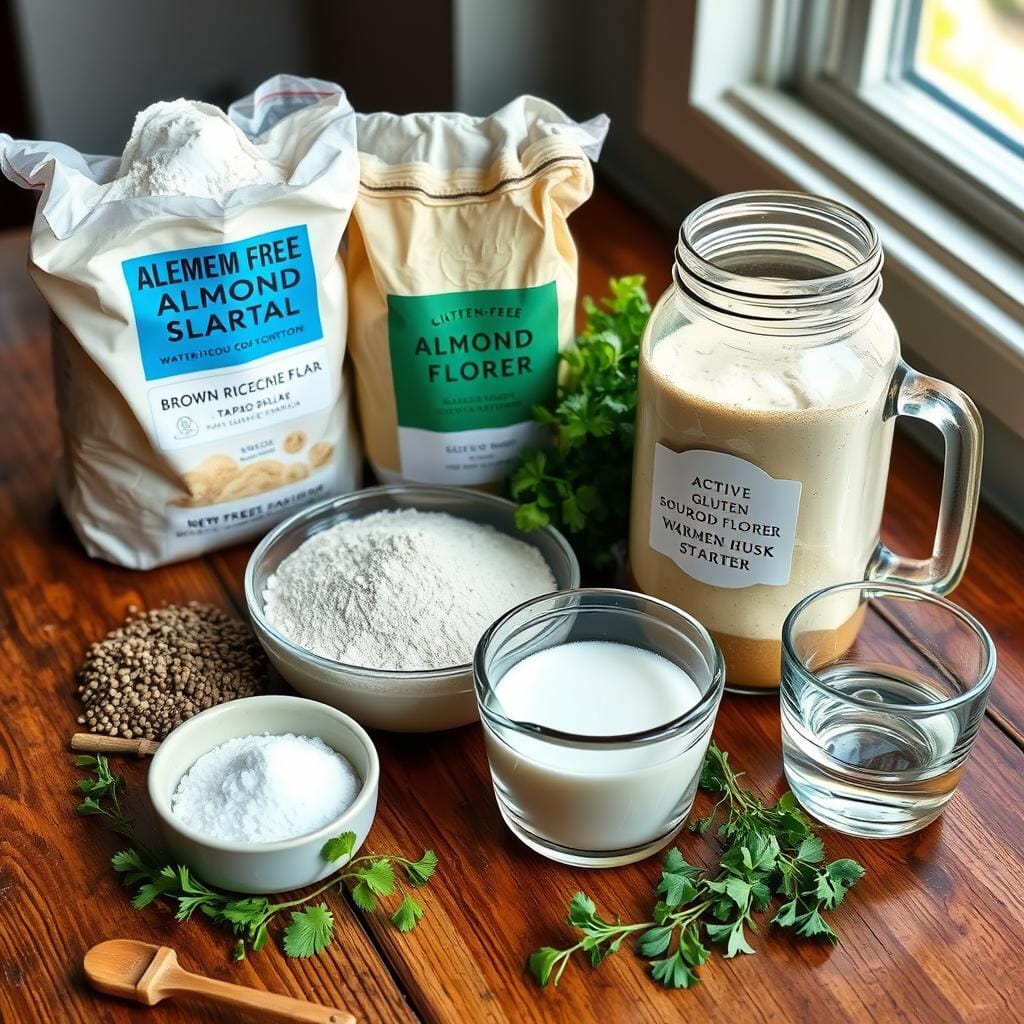
Creating a good gluten-free flour mix can take up to two years. Even small changes in the mix can affect how your bread turns out.
The Role of Liquid in Sourdough
Water is more than just an ingredient in sourdough. The kind of water you use can greatly affect how the dough ferments.
| Liquid Type | Fermentation Impact | Recommended Use |
|---|---|---|
| Spring Water | Optimal Fermentation | Ideal for starter |
| Filtered Water | Consistent Results | Best for daily baking |
| Tap Water | Potential Mineral Interference | Not Recommended |
Pro tip: Avoid iodized salt, as it can slow down your sourdough’s fermentation.
My baking tests have shown that knowing each ingredient’s special qualities is essential. This knowledge helps make a truly outstanding gluten-free sourdough bread.
Starter Culture: The Heart of Sourdough
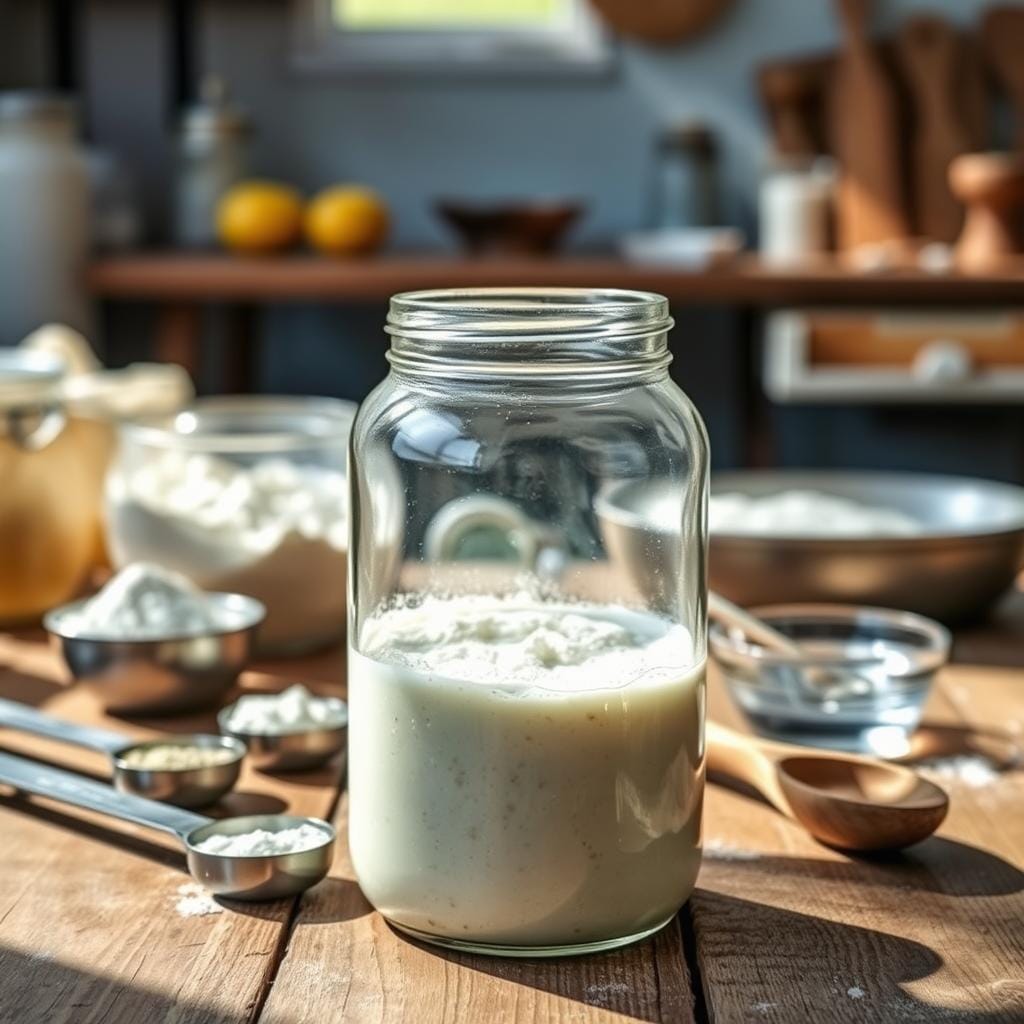
Creating a gluten-free sourdough starter is an exciting journey into the world of natural fermentation. This living culture turns simple ingredients into delicious, tangy bread. Let’s explore how to make your own sourdough starter recipes for gluten-free baking.
Creating Your Gluten-Free Starter
Creating a gluten-free starter needs patience and precision. Start with ¼ cup of whole-grain gluten-free flour. It usually takes 2-7 days, depending on the flour. Teff and buckwheat are quick, while white rice flour can be tough.
- Choose your gluten-free flour carefully
- Use filtered or spring water
- Maintain consistent room temperature
Feeding and Maintaining Your Starter
Keeping your gluten-free starter alive is key. When you feed it, use half the starter’s volume in water and flour. Buckwheat and oat flour hold more moisture than brown rice or teff.
| Flour Type | Starter Development Time | Characteristics |
|---|---|---|
| Teff | 3-5 days | Quick development, natural yeast |
| Buckwheat | 3-5 days | Robust fermentation |
| White Rice | 7+ days | Challenging, requires patience |
A good sourdough starter is more about smell than appearance. Trust your senses!
Pro tip for maintaining sourdough starter: Don’t worry about what social media shows. Gluten-free starters look different. Look for a pleasant, slightly sour smell and consistent bubbling for a healthy starter.
The Importance of Hydration in Dough
Dough hydration is key to making perfect gluten-free sourdough bread. Knowing how water works with different flours can change your baking. When I started learning about sourdough hydration, I found the secret to moisture.
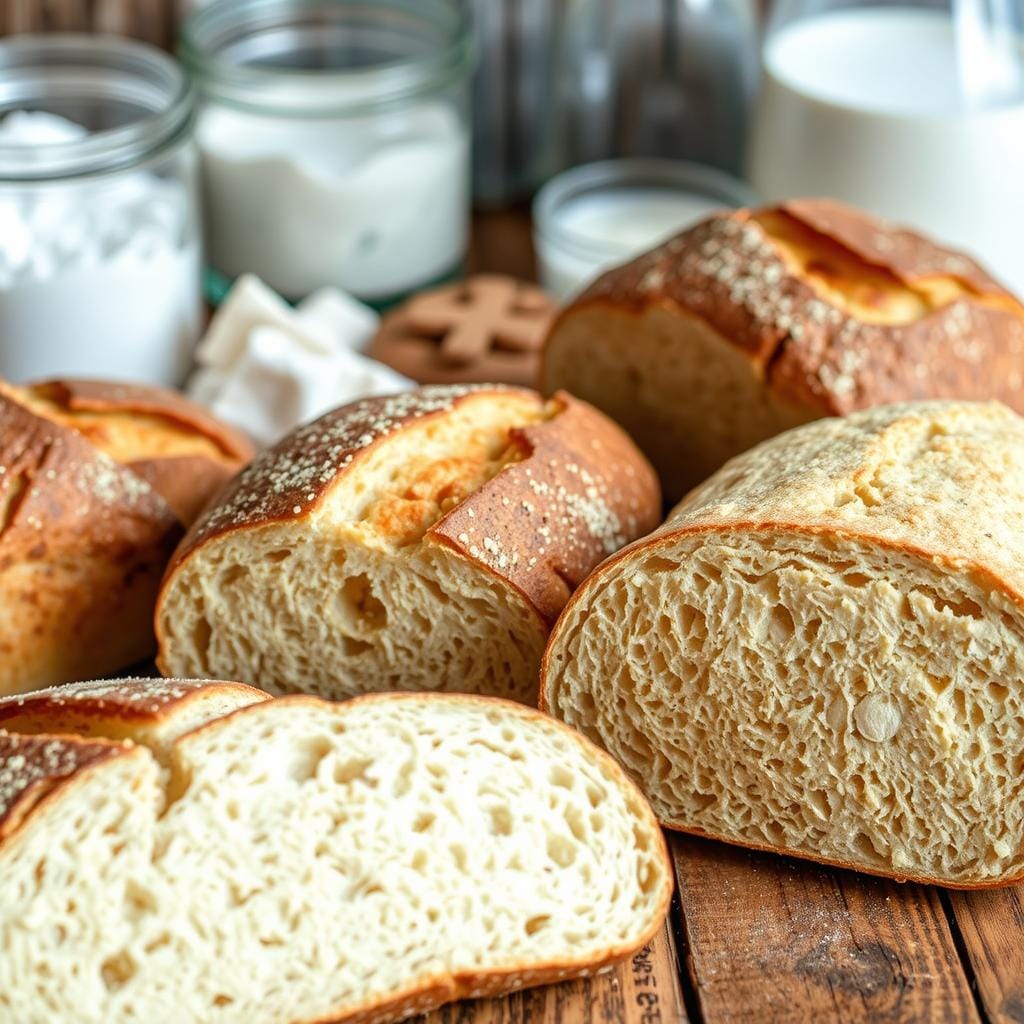
Hydration in dough is more than just adding water. It’s about making the right space for fermentation and texture.
Ideal Hydration Levels for Different Flours
Gluten-free bread’s success depends on knowing hydration percentages. Each flour mix takes water differently, so measuring accurately is vital.
| Flour Type | Hydration Range | Characteristics |
|---|---|---|
| Rice Flour | 70-80% | Needs more water, makes a lighter texture |
| Almond Flour | 55-65% | Takes less water, results in a denser crumb |
| Sorghum Flour | 65-75% | Has balanced hydration, good structure |
Tips for Achieving the Perfect Dough Consistency
- Begin with a lower hydration percentage and slowly add more
- Use a kitchen scale for exact measurements
- Watch the dough’s texture while mixing
- Adjust the liquid based on the flour mix’s characteristics
The secret to great gluten-free sourdough is knowing how each ingredient works together.
Getting dough hydration right takes time, but the effort is worth it. Every batch of sourdough brings you closer to baking perfection.
Step-by-Step Guide to Making Gluten-Free Sourdough
Making gluten-free sourdough bread needs care and patience. I’ll show you the key steps to turn simple ingredients into a tasty loaf.
- Ceramic Dutch Oven
- Pizza Stone
- Glass mixing bowl
- Silicone spatula
- Mason jars
- Parchment paper
- Dry measuring cups and spoons
- Flour sieve
Mixing and Kneading Techniques
Kneading gluten-free dough is different from wheat dough. Mix gently to avoid damaging the flour. Start by mixing dry ingredients:
- 1 cup sorghum flour
- 1 cup brown rice flour
- ¾ cup arrowroot starch
- ¼ cup almond meal
- 3 Tbsp psyllium husk
- 1½ tsp sea salt
Proving and Shaping Your Dough
Handling gluten-free sourdough dough is critical during proving. Mix wet ingredients like 1 cup active starter and ¼ cup avocado oil separately. Then, combine them with the dry ingredients. Let the dough rest to develop flavor.
“Patience is key in sourdough baking – rush the process, and you’ll compromise your bread’s texture and taste.”
Shape the dough carefully, as gluten-free dough is more delicate. Use parchment paper to shape a rustic round loaf. Let it proof again before baking in a hot Dutch oven.
Baking Tips for Gluten-Free Sourdough
Making the perfect gluten-free sourdough is an art. It needs special baking skills. My journey with gluten-free baking techniques showed me how important each step is.
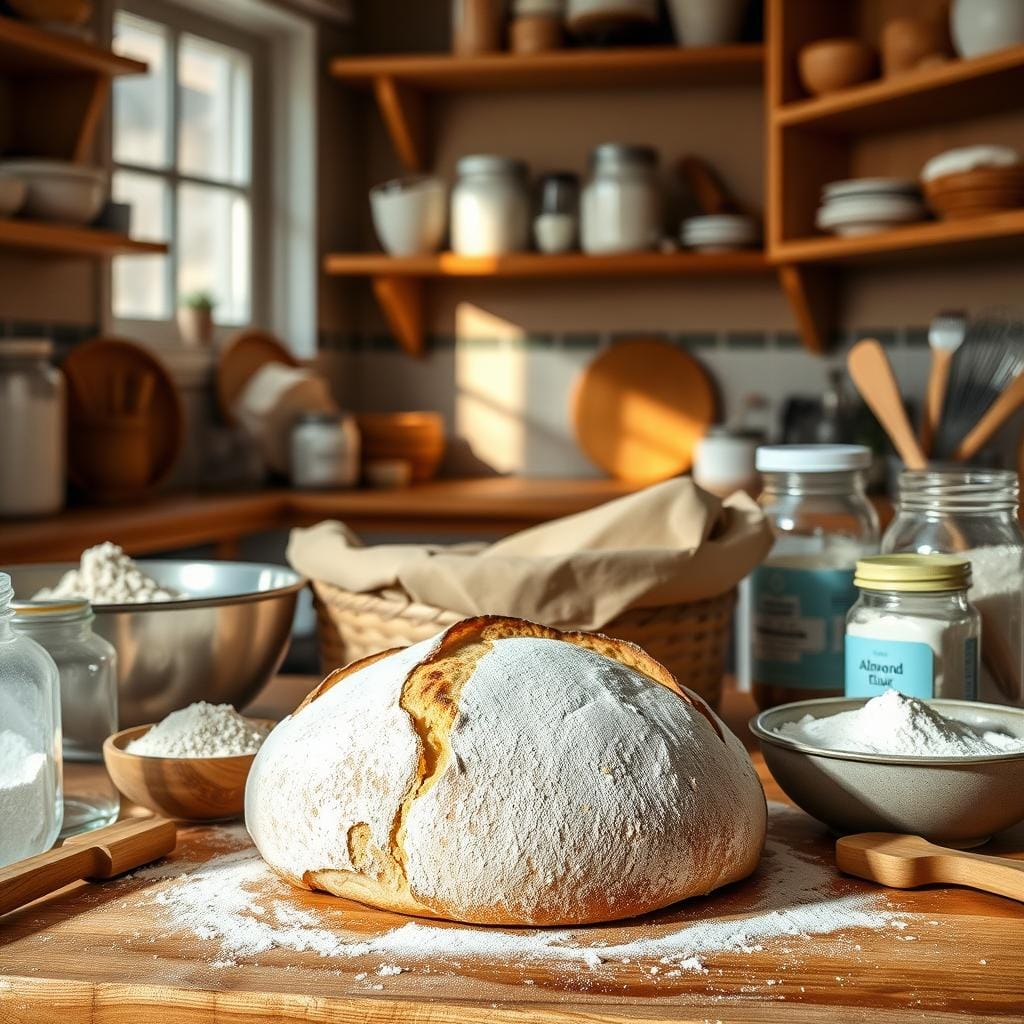
Selecting the Ideal Bakeware
Finding the right bakeware is key for gluten-free sourdough. A 3.8L Dutch oven, like the Staub Cocotte, spreads heat well. It’s perfect for baking. Glass jars and ceramic dishes also help get great results.
- Use a heavy-duty Dutch oven for crispy crusts
- Select parchment paper or silicone mats for non-stick baking
- Invest in a digital kitchen scale for precise measurements
Steam: The Secret to Artisan Crusts
Steam is vital in sourdough baking. It makes the crust crackle and the dough rise well. Bakers control moisture to get that bakery-quality bread.
| Baking Equipment | Purpose |
|---|---|
| Dutch Oven | Traps steam, creates crispy crust |
| Spray Bottle | Adds additional surface moisture |
| Baking Stone | Provides even heat distribution |
The magic of sourdough happens when heat, moisture, and technique converge perfectly.
Pro tip: Preheat your baking vessel well. This ensures lots of steam and a great rise. Scoring the dough before baking helps it expand and look beautiful.
Troubleshooting Common Issues
Gluten-free bread can be tricky to make at home. Knowing how to fix sourdough baking problems is key to making great bread. Let’s look at some common issues and how to solve them.
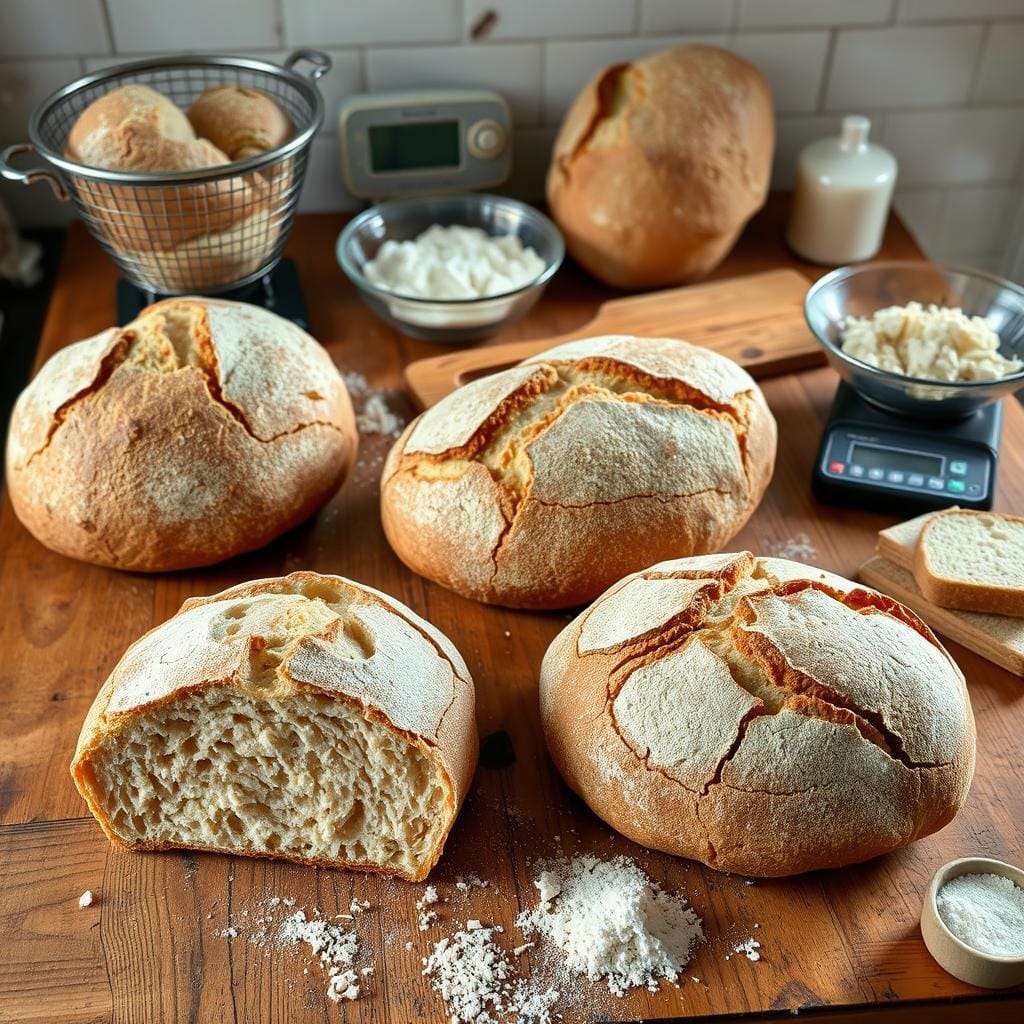
Dense Loaves: Prevention and Solutions
Getting the right texture is important for gluten-free sourdough. Dense loaves can come from a few main reasons:
- Insufficient fermentation time
- Improper hydration levels
- Inadequate proofing techniques
It’s important to watch your starter and dough closely. The float test can help check if your starter is ready. But, it’s not always 100% reliable.
Addressing Overproofed Dough Challenges
Overproofed dough can make your loaves flat and collapsed. Look out for these signs:
| Sign | Potential Issue | Solution |
|---|---|---|
| Extremely bubbly surface | Over-fermentation | Reduce proofing time |
| Liquid separation | Starter weakness | Adjust feeding schedule |
“Patience and observation are key to mastering gluten-free sourdough,” says professional baker Sarah Thompson.
If your starter acts strangely, try changing your feeding schedule. Feeding it once or twice a day keeps it healthy. Remember, the more you practice, the better you’ll get at making gluten-free sourdough!
Creative Variations of Gluten-Free Sourdough
Exploring gluten-free bread ideas is a journey into culinary creativity. Sourdough variations can turn a simple loaf into a masterpiece. My love for specialty baking has shown me that trying new ingredients can take your gluten-free sourdough to the next level.
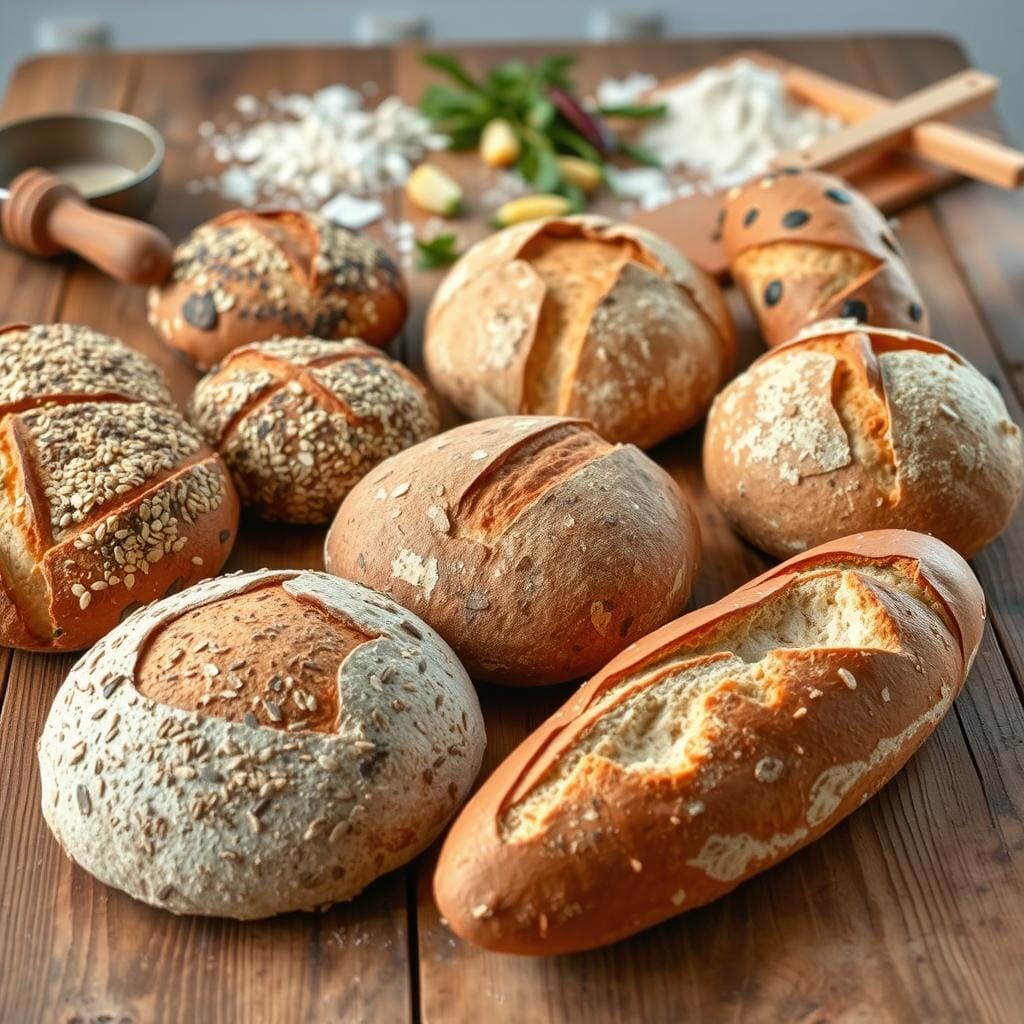
Seeds and Nuts: Texture Boosters
Seeds and nuts can change the game for gluten-free sourdough. Here are some top picks to boost texture and nutrition:
- Sunflower seeds for a delicate crunch
- Pumpkin seeds for added protein
- Chopped walnuts for rich, earthy flavor
- Chia seeds for extra moisture retention
Flavor Explosions: Herbs and Spices
My gluten-free sourdough experiments show that herbs and spices can totally change a loaf. Here are some top flavor combos:
- Rosemary and sea salt
- Thyme and black pepper
- Garlic and parsley
- Cinnamon and dried fruit for a sweet twist
“The magic of sourdough lies in its ability to adapt to your culinary imagination.” – Artisan Baker’s Wisdom
When trying gluten-free sourdough variations, add ingredients carefully. Too much can mess up the bread’s texture and rise. Start small and adjust to taste.
Best Practices for Storing Gluten-Free Sourdough
Keeping gluten-free sourdough fresh is key. It’s all about the right storage. I’ve learned that how you store gluten-free bread can really affect its taste and quality.
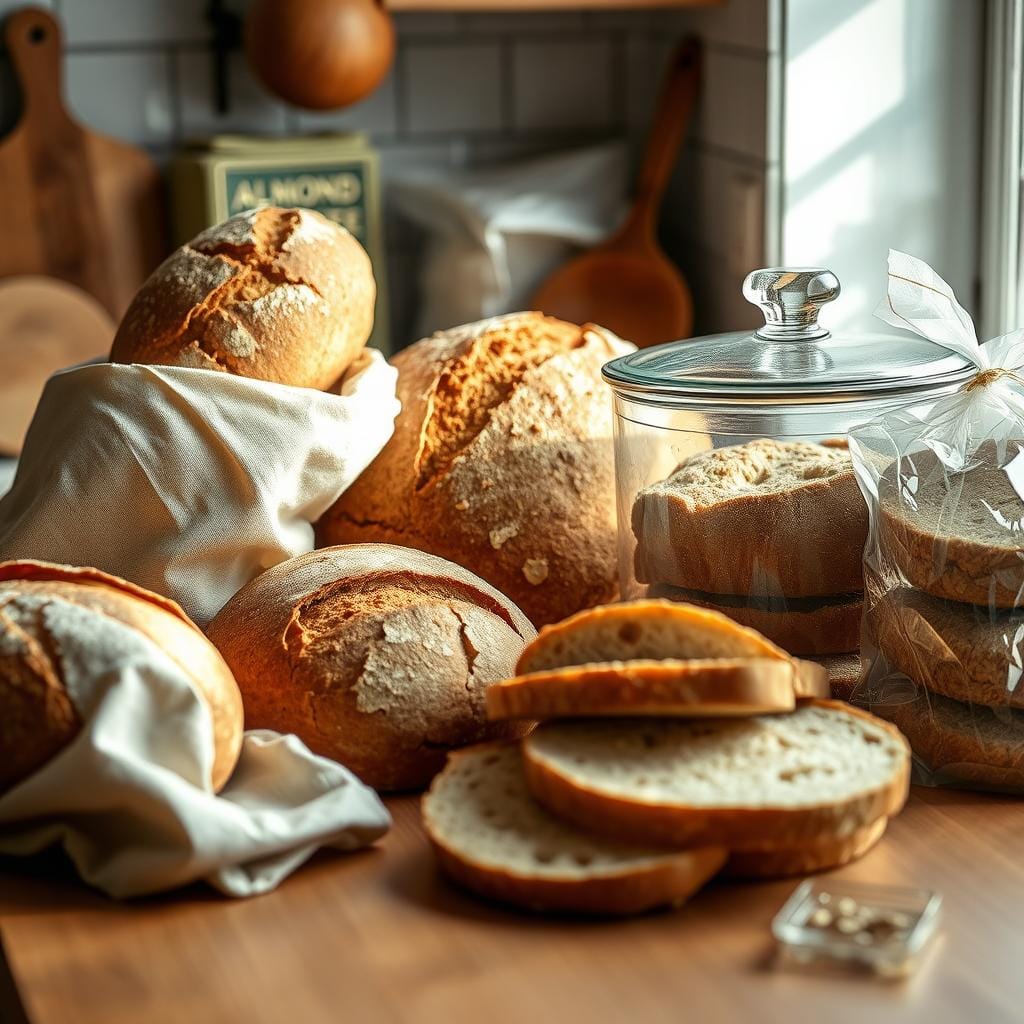
Understanding gluten-free bread is important for sourdough storage. These loaves are more sensitive to moisture and don’t last as long as regular breads.
Ways to Keep Your Bread Fresh
Here are some tips to keep your bread fresh:
- Store at room temperature in a breathable container like a cloth bag or bread box
- Avoid plastic bags that can make the crust soggy
- Keep bread away from direct sunlight
- Use an airtight container to prevent moisture exposure
“The secret to great gluten-free sourdough is as much about storage as it is about baking.”
Freezing and Reheating Tips
Freezing is the best way to store sourdough for a long time. Here’s how I do it:
- Slice the bread before freezing
- Wrap individual slices in freezer-safe wrap
- Store in an airtight freezer bag
- Thaw at room temperature or toast directly from frozen
To reheat, use a low oven (around 300°F). This keeps the crust crispy without drying out the inside. With the right storage, your gluten-free sourdough can stay fresh and tasty for weeks.
Delicious Serving Suggestions
Gluten-free sourdough bread is super versatile in the kitchen. I love turning it into crispy toast with avocado or making fancy sandwiches. The bread’s unique taste shines in these dishes.
Pairing sourdough with the right spreads can make meals special. Try it with homemade hummus, almond butter, or olive tapenade. For a quick snack, make bruschetta with fresh tomatoes and basil. It brings out the bread’s texture and tanginess.
Healthy sourdough is great for many dishes. Use it for crunchy croutons in salads, bread pudding with fruits, or holiday stuffing. The trick is to try new ways to use it and enjoy its deep flavor.
Pairing with Spreads and Dips
There are many ways to make gluten-free sourdough even better. My favorites include roasted red pepper hummus, whipped feta, and balsamic olive oil for dipping.
Meal Ideas Featuring Gluten-Free Sourdough
Gluten-free sourdough can be part of many meals. Use it for open-faced sandwiches, breadcrumbs for casseroles, or with soups and stews. It’s a key ingredient in my gluten-free cooking.
FAQ
What makes gluten-free sourdough different from regular sourdough?
How long does it take to create a gluten-free sourdough starter?
Can I make gluten-free sourdough if I’m a beginner baker?
What are the best gluten-free flours for sourdough?
How can I prevent my gluten-free sourdough from becoming dense?
How do I store gluten-free sourdough bread?
Can I add mix-ins to my gluten-free sourdough?
Source Links
- How to make gluten-free sourdough bread
- My Best Sourdough Recipe | The Perfect Loaf
- The Beginner’s Guide to Baking Gluten-Free Sourdough Bread
- Is Sourdough Bread Gluten Free?
- Is Sourdough Bread Gluten-Free?
- Gluten-Free Sourdough Bread
- Gluten Free Sourdough Bread Recipe – authentic bread, no gluten |gfJules
- Gluten-Free Sourdough Bread
- Seeded Multigrain Gluten Free Sourdough Bread | Vanilla And Bean
- How To Make A Gluten-Free Sourdough Starter
- Gluten-Free Sourdough Starter – Fresh is Real
- All About Sourdough Hydration: A Beginner’s Guide – Crave The Good
- Dough Hydration – The Sourdough Baker
- How To Make Gluten-Free Sourdough Bread with Recipe
- Gluten-Free Sourdough Starter
- The Ultimate Gluten-Free Sourdough Tool Guide
- How to Make a Gluten-Free Sourdough Starter | Vanilla And Bean
- Troubleshooting New Sourdough Starter Common Issues – The Rose Homestead
- Troubleshooting Sourdough: Your Questions Answered • The Prairie Homestead
- Caputo Gluten Free Sourdough
- Artisan Gluten Free Sourdough Bread Recipe
- How To Store Gluten Free Bread
- How to store sourdough bread
- Gluten-free sourdough discard “naan” bread – Marta in the jar
- gluten free sourdough – My Gluten Free Cucina
- Easy Gluten-Free Sourdough Cornbread – Natasha’s Home

