Table of Contents
Watching my grandmother make her famous crispy fried chicken was magical. Her hands moved with skill, turning simple ingredients into a golden, crunchy delight. This taught me that deep-frying is more than cooking—it’s a special art that connects us across generations.
Creating crispy batter recipes is not just about hot oil and ingredients. It takes understanding, patience, and a bit of magic. I’ll share my years of kitchen experiments. You’ll learn how to get that perfect crispy exterior every time, whether you’re a pro or a home cook.
Key Takeaways
- Master temperature control for consistent crispy results
- Understand the importance of ingredient preparation
- Learn how different batters affect food texture
- Discover techniques for achieving golden-brown perfection
- Explore the science behind crispy frying
The Science Behind Frying: Why Crispy Texture Matters
Frying turns simple ingredients into golden, crispy treats. This magic comes from the science of cooking, focusing on oil temperature for frying and the Maillard reaction.
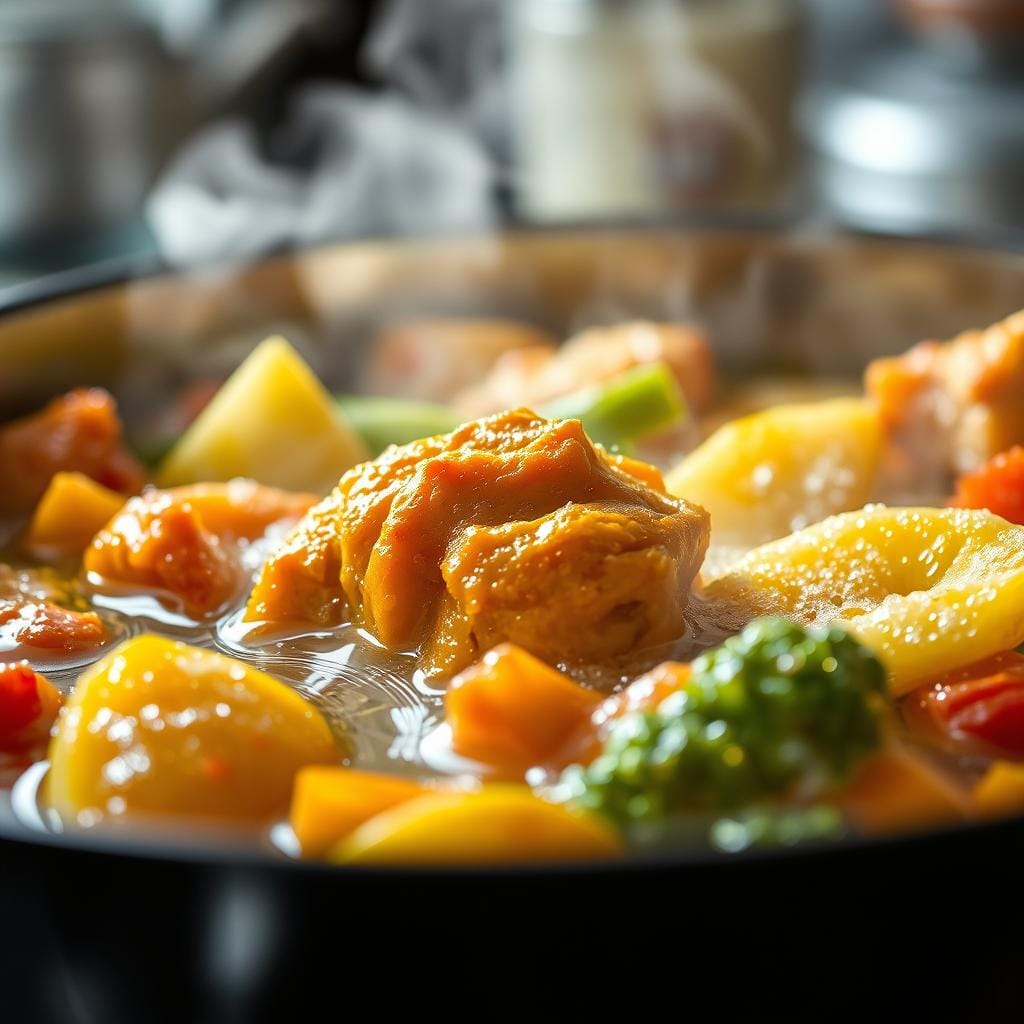
Heat and food together create something amazing. The Maillard reaction is key to the golden color and flavors of fried foods. It happens when proteins and sugars react at high heat, making food taste incredible.
Understanding the Maillard Reaction
The Maillard reaction is more than just browning. It’s a complex process that turns simple ingredients into delicious dishes. Here’s why it’s so unique:
- Occurs at temperatures between 300°F and 400°F
- Creates hundreds of different flavor compounds
- Responsible for the complex taste in fried foods
The Role of Temperature in Crispy Frying
Mastering oil temperature for frying is key for a crispy texture. Getting the temperature right is essential for a great fried dish.
| Oil Temperature | Cooking Result |
|---|---|
| Below 325°F | Greasy, soggy food |
| 350°F – 375°F | Crispy, golden exterior |
| Above 400°F | Burned exterior, undercooked interior |
“Crispy texture is the hallmark of perfect frying – it’s where science meets culinary art.” – Culinary Expert
The right oil temperature for frying leads to fast moisture evaporation. This creates a crispy outside and a soft inside. Achieving this balance is what makes fried food truly great.
Essential Equipment for Perfect Frying
Mastering deep-frying tips starts with the right kitchen tools. The right equipment can make all the difference in getting that crispy, golden-brown finish. Let’s look at the must-have gear for a better frying experience.
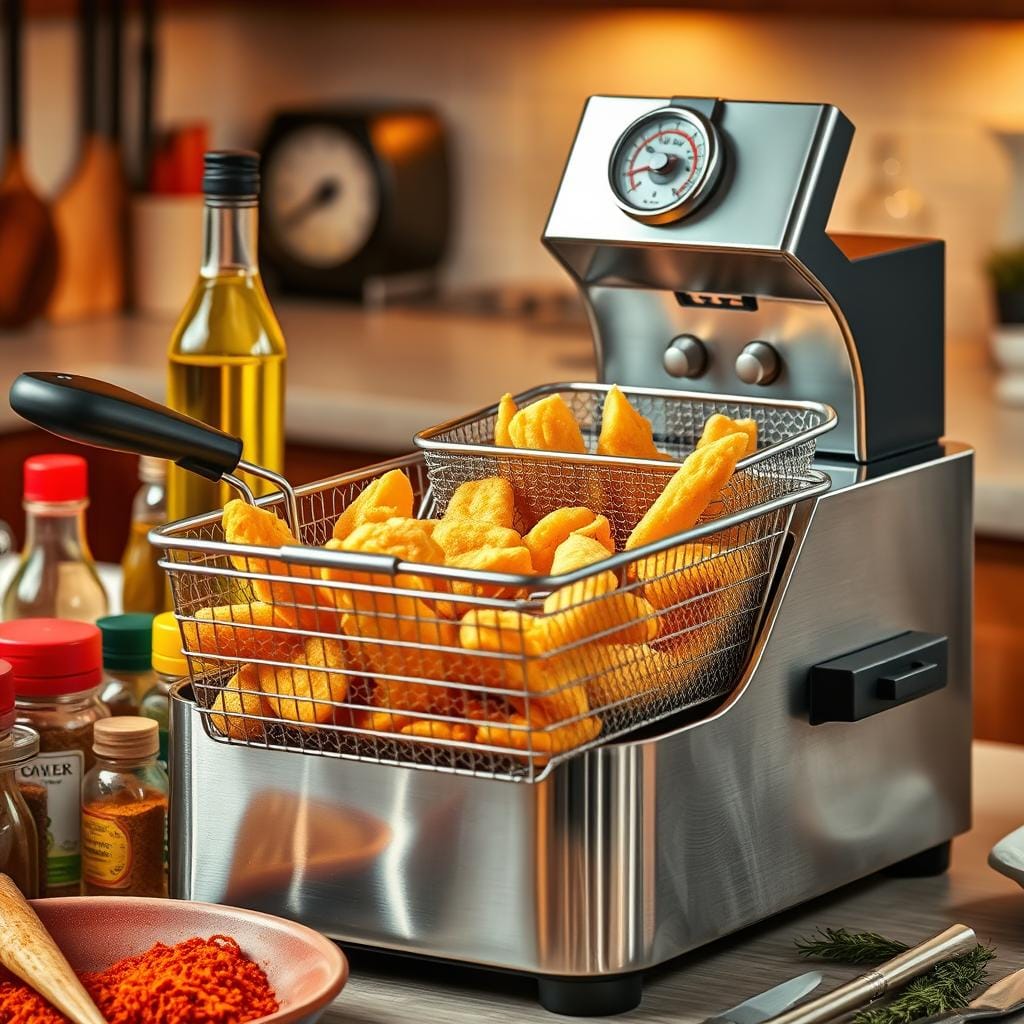
Choosing the Right Frying Pan or Deep Fryer
Choosing the right cooking vessel is key for deep-frying. I suggest investing in:
- A heavy-bottomed Dutch oven for even heat
- Cast iron skillets for shallow frying
- Dedicated deep fryers with built-in temperature controls
“The right pan is like a trusted companion in the kitchen – it makes all the difference in your cooking journey.”
Thermometers: Ensuring the Proper Oil Temperature
For deep-frying, precision is everything. An instant-read thermometer is your go-to for the perfect temperature. The ThermoWorks Thermapen ONE, available on Amazon for $115, is top-notch.
| Temperature Range | Cooking Result |
|---|---|
| 325-350°F | Gentle frying |
| 375°F | Ideal deep-frying temperature |
| 400°F+ | Risk of burning |
Pro tip: Always leave extra space at the top of your pan to prevent oil splattering and ensure safe cooking.
Selecting the Best Oils for Frying
Choosing the right oil is key for perfect crispy results when frying. The oil’s temperature is very important for the dish’s quality and taste. Different oils have unique qualities that can greatly affect your cooking.
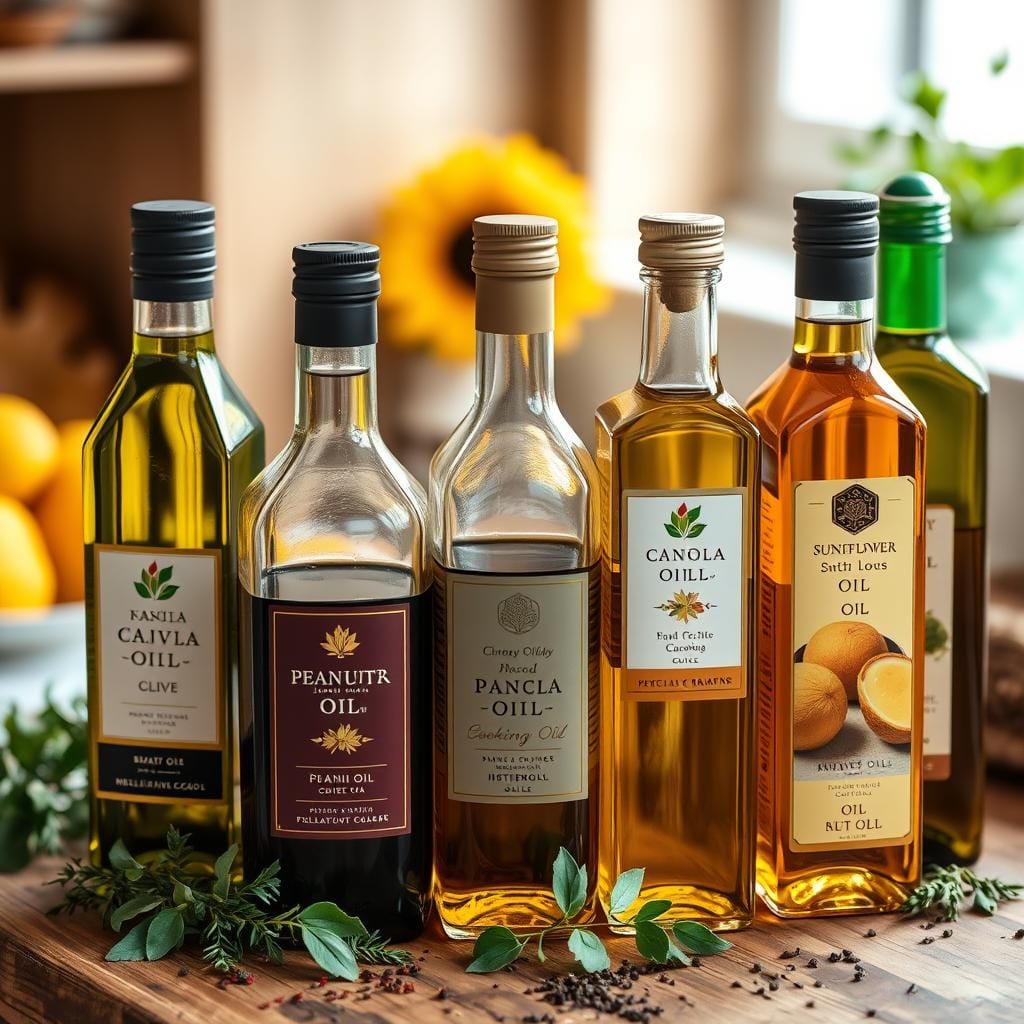
When picking an oil for frying, I look at two main things: smoke point and flavor. Not all oils are the same. Knowing their differences can make you a pro at making crispy foods.
Comparing Smoke Points of Common Oils
The smoke point is very important for frying. Here’s a list of top oils for different frying methods:
- Avocado Oil: Highest smoke point at 520°F – ideal for any frying method
- Peanut Oil: 450°F – excellent for deep and stir-frying
- Safflower Oil: 475°F – perfect for high-heat cooking
- Canola Oil: 400°F – versatile and budget-friendly
Flavor Profiles of Different Cooking Oils
“The right oil can elevate your dish from good to extraordinary.” – Culinary Expert
| Oil Type | Smoke Point | Flavor Profile | Best Used For |
|---|---|---|---|
| Peanut Oil | 450°F | Neutral, slightly nutty | Asian cuisine, deep frying |
| Coconut Oil | 450°F | Sweet, tropical | Baking, light frying |
| Sunflower Oil | 450°F | Very mild | General frying, salad dressings |
It’s best to avoid oils with low smoke points like extra virgin olive oil or butter. They burn quickly and can ruin the taste. The oil you choose can make or break your dish.
Preparing Ingredients for Optimal Crispiness
Making the perfect crispy dish begins with careful ingredient prep. I’ve learned that getting that golden, crunchy exterior is more than just hot oil. It’s about the prep and the science behind crispy batter recipes.
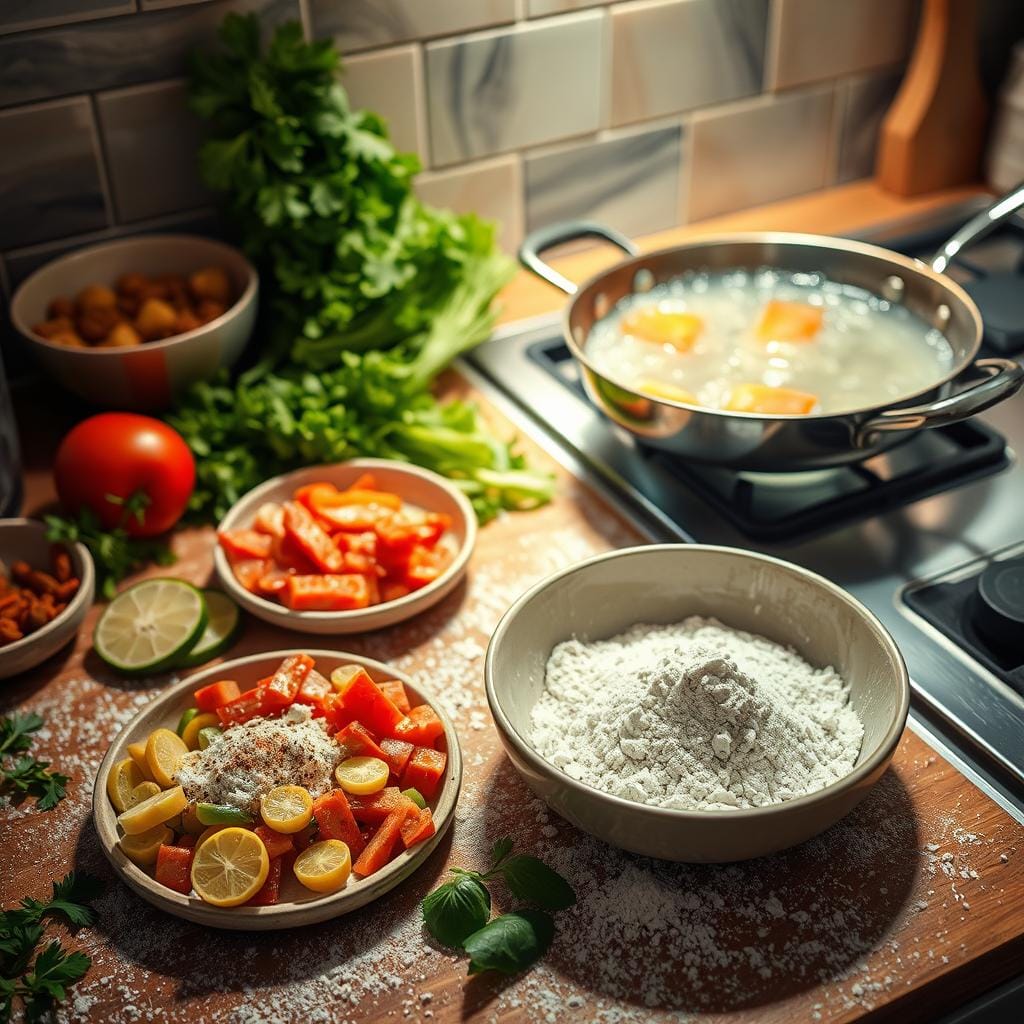
Before frying, there are key steps for maximum crispiness. The most critical rule? Eliminate moisture. Wet ingredients ruin crisp coatings. Here’s how I prep ingredients:
- Pat ingredients dry with paper towels
- Use a three-step breading process
- Try unique batter ingredients
The Importance of Drying Ingredients
Water is the biggest enemy of crispiness. When it hits hot oil, it creates steam, stopping that golden crust. Always dry meats, veggies, and other ingredients before frying. A professional chef technique uses clean towels or paper towels to remove moisture.
Using Breading and Batters Effectively
My go-to crispy batter recipes use a smart coating method. I follow a three-step process:
- Dust with seasoned flour
- Dip in egg wash
- Coat with breadcrumbs or panko
| Ingredient | Crispy Factor | Recommended Use |
|---|---|---|
| Cornstarch | Increases crunchiness | Mix with flour for extra crisp |
| Carbonated Liquids | Creates lighter batter | Use beer or club soda |
| Vodka | Prevents gluten formation | Adds crispiness to batter |
Pro tip: The key to crispy perfection is patience and practice!
The Role of Seasoning in Frying
Seasoning is the secret to making homemade fried chicken amazing. It’s all about how you season your food. This can turn a simple dish into a flavor explosion.
How Seasoning Enhances Flavor
Seasoning does more than just add taste. It adds depth and complexity to your fried chicken. The right spices can make the crust golden and full of flavor.
- Salt brings out natural food flavors
- Spices create depth and complexity
- Herbs add aromatic notes
Timing: When to Add Seasoning for Best Results
Timing is key when seasoning your fried chicken. I suggest seasoning in stages for the best flavor and texture.
| Seasoning Stage | Technique | Impact |
|---|---|---|
| Pre-Coating | Season meat directly | Infuses flavor into the protein |
| Flour Mixture | Add spices to breading | Creates flavorful crust |
| Post-Frying | Sprinkle fresh seasonings | Enhances final taste profile |
“Seasoning is the art of transforming simple ingredients into a culinary masterpiece.” – Professional Chef
My go-to seasoning mix for fried chicken includes paprika, garlic powder, onion powder, salt, and black pepper. This mix gives a classic taste that always hits the spot.
Techniques for Achieving Crunchy Fried Foods
Making perfect crispy fried foods is more than just hot oil and ingredients. Professional chefs use special methods to get that golden, crunchy outside. These techniques make fried foods go from good to amazing.
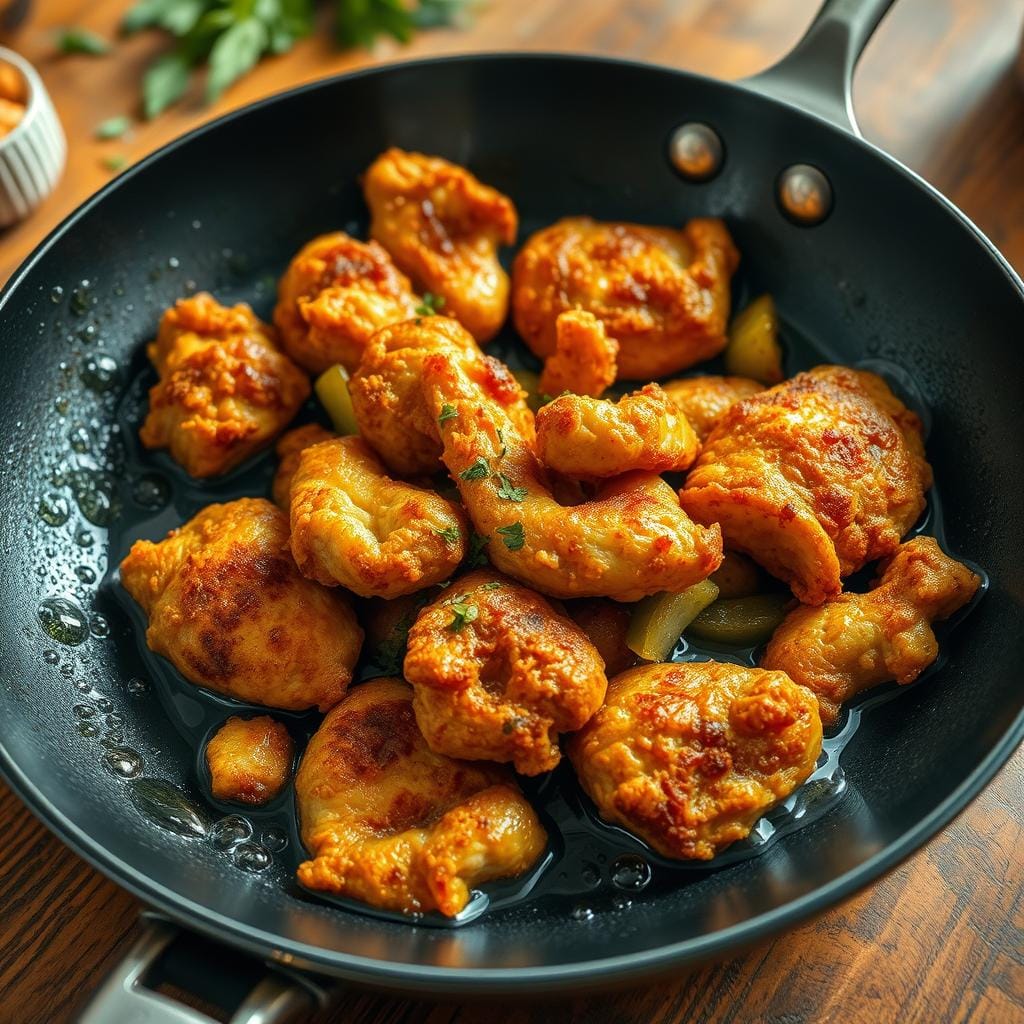
My top picks for crispy frying techniques are two powerful methods. They promise delicious results every time:
Double Frying: The Ultimate Crispiness Hack
Double frying is a technique that changes ordinary fried foods into something special. Here’s how it works:
- First fry at a lower temperature (around 325°F)
- Rest the food for a few minutes
- Second fry at a higher temperature (375°F)
“Double frying creates an unbelievably crisp exterior that locks in flavor and texture.” – Professional Chef Recommendation
Mastering Coating Techniques
The key to crispy frying is in your coating. Mixing cornstarch and flour gives a lighter, tastier crunch.
- Cornstarch prevents gluten formation
- Creates a golden-brown color
- Produces an ultra-crispy texture
Pro tip: Pat ingredients completely dry before coating to maximize crispiness and prevent oil splattering.
Using these crispy frying techniques, you can turn simple ingredients into amazing fried dishes. They’ll impress anyone who tries them.
Testing Oil Temperature: Methods and Tips
Frying food right means you need to control the oil temperature. The right temperature makes your food crispy and tasty. It prevents it from burning or cooking too little.
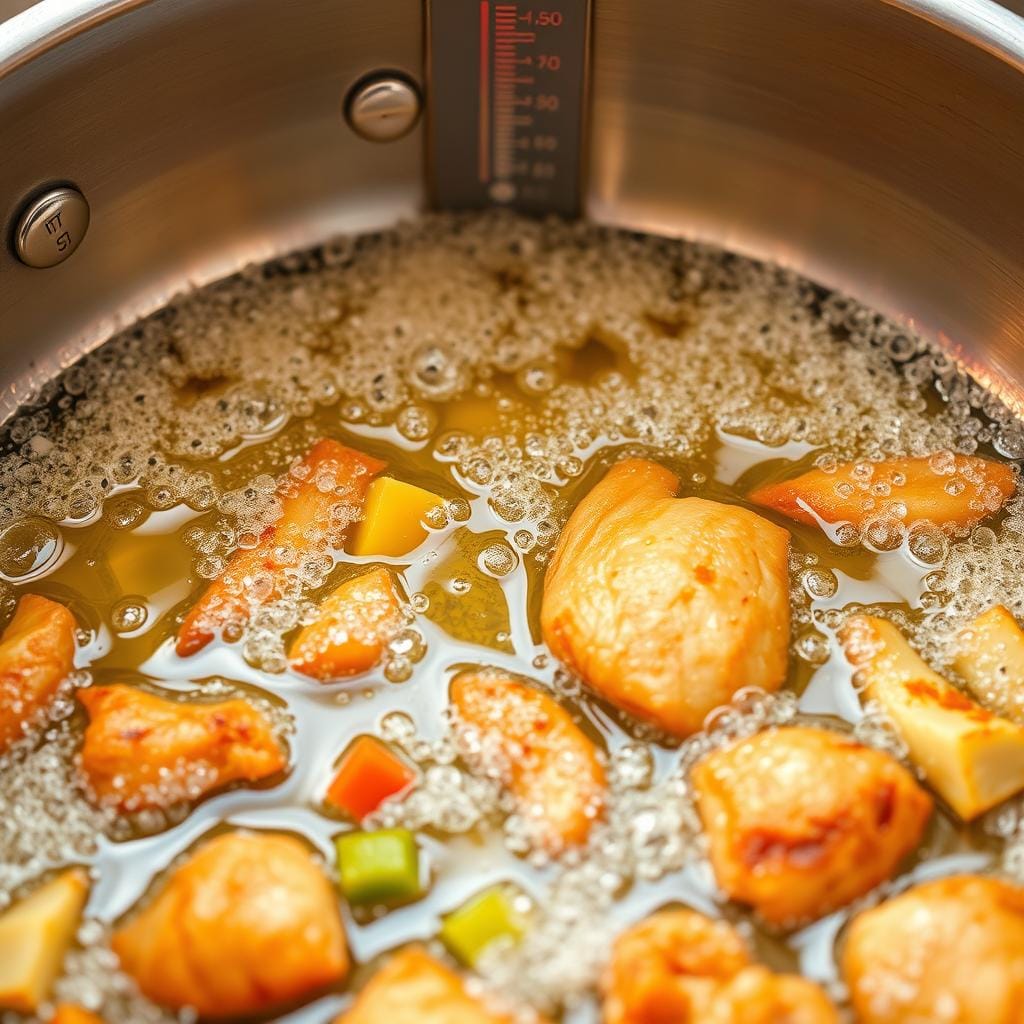
Knowing when your oil is ready is key. Both pros and home cooks use several methods to check the oil’s temperature.
The Water Drop Test
The water drop test is a simple way to check oil temperature. Here’s how to do it:
- Drop a small amount of water into the heated oil
- Watch for immediate sizzling and bubbling
- If the water dances and evaporates quickly, the oil is around 350°F-375°F
- If the water sits and doesn’t react, the oil is not hot enough
“The water drop test is like a culinary thermometer – quick, simple, and surprisingly accurate.” – Chef Michael Rodriguez
Using a Frying Thermometer
A digital frying thermometer is the best for precise measurements. These tools give exact temperature readings, ensuring consistent results every time.
- Insert the thermometer into the oil
- Wait for a stable reading
- Ideal temperature ranges:
- Shallow frying: 350°F-375°F
- Deep frying: Around 375°F
Pro tip: Always keep the thermometer clean and calibrated for accurate readings.
How to Avoid Soggy Fried Foods
To get crispy, golden-brown fried foods, you need more than just hot oil. You need precision, technique, and attention to detail. Here are some expert tips to keep your fried dishes crunchy every time.
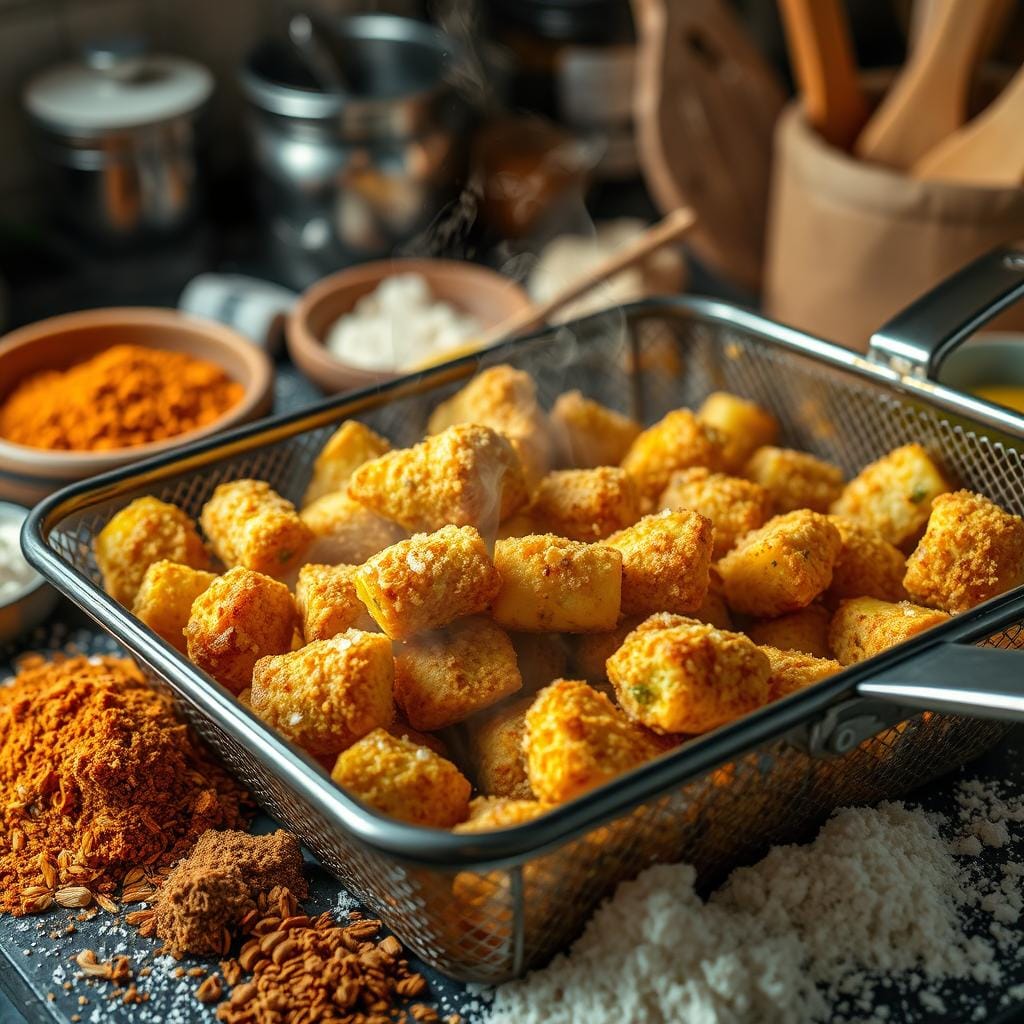
Understanding cooking techniques is key to avoiding soggy fried foods. Professional chefs say keeping the oil right is essential for a crisp exterior.
The Impact of Overcrowding the Frying Pan
Overcrowding the pan is a big mistake. It makes food soggy and greasy. When too much food is in the pan, the oil temperature drops fast. This causes food to soak up too much oil instead of getting crispy.
- Fry in small batches to keep oil temperature steady
- Leave space between food items while frying
- Use a thermometer to check oil temperature between 325-390°F
Drain and Rest: The Key Steps After Frying
The steps after frying are just as important for crispiness. Putting fried foods on paper towels can trap steam and make them soggy.
“The secret to crispy fried foods is all in the preparation and finishing techniques.”
Instead, use a wire rack over a baking sheet. This lets excess oil drip off while preventing steam. Let your fried foods rest a bit to set the exterior, ensuring they stay crunchy.
By using these techniques, you’ll get the hang of frying without sogginess. You’ll make crispy dishes that taste like they’re from a restaurant.
Frying Techniques for Different Types of Foods
Mastering frying means knowing how to cook different foods. From crispy veggies to golden fried chicken, each needs a special way to get that perfect crunch.
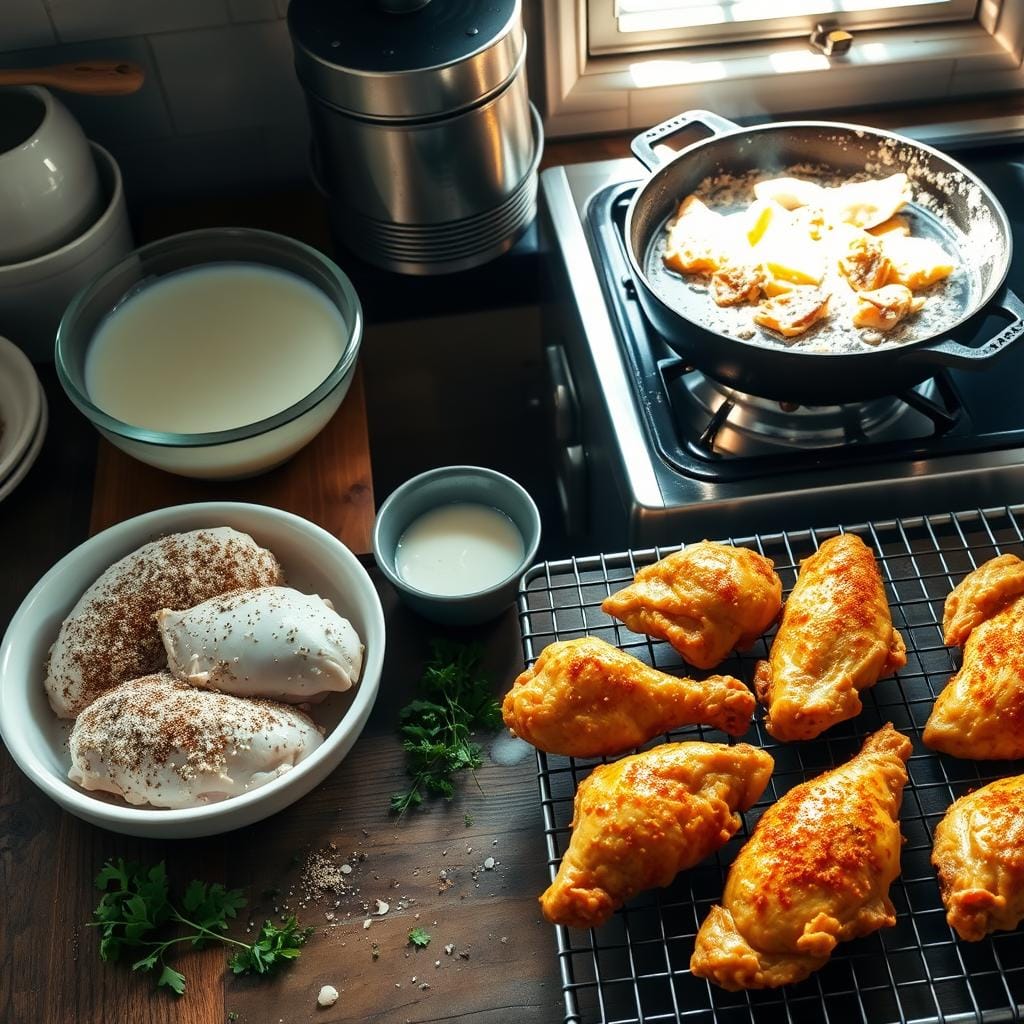
Each food needs its own frying method. Let’s look at some key techniques to improve your cooking and make your dishes crispy.
Crispy Vegetables: Tips and Tricks
Frying veggies is an art that needs precision. The key is choosing the right batter and oil temperature. Here are some tips:
- Use a light tempura batter for maximum crispiness
- Fry at high temperatures between 300-375°F
- Ensure vegetables are completely dry before frying
- Cut vegetables into uniform sizes for even cooking
Perfect Homemade Fried Chicken: A Step-by-Step Guide
To make the best homemade fried chicken, follow these steps:
- Brine chicken in buttermilk for at least 4 hours
- Create a coating mixture of flour and cornstarch
- Season the coating generously with spices
- Maintain oil temperature at 350°F
Here’s a quick reference for optimal frying temperatures:
| Food Type | Recommended Temperature | Cooking Time |
|---|---|---|
| Root Vegetables | 300-320°F | 3-5 minutes |
| Seafood | 375-400°F | 2-4 minutes |
| Homemade Fried Chicken | 350°F | 12-15 minutes |
“The key to perfect frying is patience and precision.” – Professional Chef
Pro tip: Always use a meat thermometer to ensure chicken reaches an internal temperature of 165°F for safe consumption.
Common Mistakes to Avoid When Frying
Deep-frying can be tricky, even for experienced home cooks. Knowing the common mistakes helps you make perfectly crispy dishes every time. Here are the most important deep-frying tips to help you avoid these errors.
Preheating Oil: The Critical First Step
Not preheating the oil is a common mistake that can ruin your dishes. Let’s talk about why preheating is so important:
- Oil temperature greatly affects food texture
- The best frying temperature range is 325-390°F
- Temperatures under 325°F make food soggy
- Temperatures over 390°F can burn the outside while leaving the inside raw
Moisture Management in Frying
Wet ingredients are a big challenge in deep-frying. Too much moisture leads to dangerous oil splatters and prevents food from getting crispy.
“Dry ingredients are the secret to achieving that perfect golden crunch!” – Professional Chef
| Ingredient Preparation | Recommended Action |
|---|---|
| Frozen Foods | Pat completely dry before frying |
| Meats | Use paper towels to remove surface moisture |
| Vegetables | Allow to air dry or use kitchen towel |
Deep-frying tips are not just about technique. They’re about understanding how moisture, temperature, and preparation work together. By avoiding these common mistakes, you’ll improve your frying skills and impress everyone with delicious, crispy results.
Healthier Alternatives to Traditional Frying
Crispy frying has changed a lot in recent years. Now, health-conscious cooks have new ways to make food crispy without deep-frying. These methods are tasty and use less oil.
Air Frying: A Modern Approach to Crispy Food
Air fryers have changed the game in the last decade. They use hot air to make food crispy, using up to 75% less fat than deep-frying. This means less oil and possibly fewer health risks from high-fat cooking.
- Reduces oil usage from 3 cups to just 1 tablespoon
- Cooks meals in 10-15 minutes
- Can decrease acrylamide content by up to 90%
Oven Baking Techniques for a Crunchy Finish
Oven-frying is another great option for crispy food. It uses a wire rack and a little oil to get that crunch. This method also helps food cook evenly, making it golden without soaking up too much oil.
Cooking in the oven and air frying generally result in similar nutrient profiles, making them smart choices for health-conscious individuals.
Try out these methods to find your favorite way to make food crispy. Your culinary journey can be both tasty and healthy!
Cleaning and Maintaining Your Frying Equipment
Keeping your deep-frying equipment in top shape is key for tasty, crispy foods. It also helps your tools last longer. Start with regular cleaning and maintenance for the best results.
Professional chefs say well-kept commercial deep fryers can last up to 10 years. Here are some top tips to keep your gear in perfect condition.
Oil Disposal and Cleaning Strategies
Managing oil right is essential for your deep fryer. Proper kitchen care includes several important steps:
- Let oil cool down before touching it
- Strain and save used oil for later use
- Filter oil every day to get rid of food bits
- Dispose of oil safely through recycling
Ensuring Longevity of Frying Tools
Regular cleaning stops oil from getting bad and keeps your tools safe. Make a daily cleaning plan that includes:
- Clean fryer baskets well
- Check oil levels
- Look over burners and parts
- Make sure drain valves are clear
Pro tip: Do a deep fryer boil-out once a week to clean it out and keep oil fresh.
“Spend a few minutes each day on maintenance for big savings in the long run.” – Professional Kitchen Management
| Fryer Type | Cleaning Frequency | Maintenance Priority |
|---|---|---|
| Tube Style Fryers | Weekly deep clean | High (due to complex design) |
| Open Pot Fryers | Daily cleaning | Medium |
| Electric Fryers | Daily wipe-down | Low |
How to Create a Crispy Frying Station at Home
Starting with a well-organized and safe frying station is key to perfect homemade fried chicken. My kitchen is set up for both safety and efficiency, making it easy to cook crispy treats.
Essentials for a Safe Frying Environment
When making homemade fried chicken, safety is a top priority. Here are the must-haves:
- Fire extinguisher within easy reach
- Heat-resistant gloves
- Splatter screen to minimize oil mess
- Digital thermometer for precise oil temperature
Organizing Your Ingredients and Tools
Having a tidy frying station makes cooking easier and more fun. I divide my workspace into zones for prep and cooking.
| Preparation Zone | Cooking Zone |
|---|---|
| Cutting board | Deep fryer or heavy-duty pot |
| Seasoning ingredients | Slotted metal spoon |
| Batter mixing area | Oil temperature monitor |
For the crispiest homemade fried chicken, I use a special batter. It’s a mix of cornstarch and flour, with a bit of vodka for extra crunch.
The key to perfect frying is preparation and attention to detail.
I aim for an oil temperature between 350°F and 375°F. Peanut or vegetable oil works best because of its high smoke point and clean taste. These tips will help you set up a top-notch frying station at home.
Pairing Dipping Sauces with Fried Foods
Dipping sauces make crispy frying techniques exciting. The right sauce can turn fried foods into something amazing. It adds flavor and excitement to every bite.
A good dipping sauce can make fried foods unforgettable. It’s all about matching flavors. You want a sauce that complements the dish, not overpowers it.
Classic Dips: From Ranch to Honey Mustard
- Ranch: A creamy, tangy classic that pairs perfectly with crispy chicken and vegetables
- Honey Mustard: Balances sweet and tangy notes with fried appetizers
- Barbecue Sauce: Adds smoky depth to crispy proteins
Spicy and Sweet Sauce Combinations
| Sauce Type | Flavor Profile | Best Paired With |
|---|---|---|
| Sweet Chili Sauce | Spicy-Sweet | Tempura and Asian-style fried foods |
| Sriracha Aioli | Creamy Spicy | Seafood and chicken |
| Maple Chipotle | Sweet-Smoky | Fried pork and chicken |
Pro tip: When exploring crispy frying techniques, remember that the sauce can be as important as the cooking method itself. Experiment with unexpected combinations to discover your perfect match!
“A great dipping sauce turns a good fried dish into an unforgettable meal” – Culinary Wisdom
The Global Influence of Frying Techniques
Exploring crispy batter recipes worldwide shows a rich culinary scene. Frying is more than just cooking; it’s a way to share local flavors and ingredients. Every culture has its own twist on making crispy dishes.
Global frying methods are incredibly varied. Each region has its own crispy batter recipes, showing off local traditions. From Japanese tempura to Indian pakoras, these methods show incredible culinary creativity.
Fried Foods from Around the World
Different cultures have amazing frying techniques that highlight their culinary heritage:
- Japan: Light, delicate tempura with rice flour batter
- India: Spicy pakoras using chickpea flour
- Germany: Crispy schnitzel with breadcrumb coating
- United States: Southern-style fried chicken
Adapting Crispy Techniques to Regional Cuisines
By learning global frying techniques, home cooks can try crispy batter recipes from around the world. The secret is mastering temperature and choosing the right coating ingredients.
| Region | Signature Crispy Dish | Key Frying Technique |
|---|---|---|
| Southeast Asia | Spring Rolls | Thin wrapper, quick high-heat frying |
| Middle East | Falafel | Dense chickpea batter, deep frying |
| Latin America | Empanadas | Thick dough, sealed edges, oil immersion |
Each region’s unique approach shows that crispy batter recipes are more than cooking. They’re a way to express culture.
Final Thoughts on Mastering Crispy Frying
My journey into crispy frying has been a fun exploration of cooking skills. It takes patience and a desire to try new things to get it right. Every step, from oil temperatures to choosing ingredients, helps make dishes crispy and golden.
Continuous Learning in the Kitchen
Mastering crispy frying is a never-ending journey. Each try teaches you something new, like the right mix for a crispy coating or keeping oil at the right temperature. It’s important to see mistakes as chances to learn and keep improving.
Sharing Your Culinary Creations
Cooking connects us, and sharing your crispy frying projects is very rewarding. Whether you’re making fried chicken or trying new frying styles, your kitchen is a place of tasty discoveries. Talk to other food lovers, share your wins, and ask for help when you’re stuck.
Remember, crispy frying is an art that mixes science, skill, and creativity. Keep exploring, stay curious, and most importantly, enjoy the tasty path to becoming a frying master.
FAQ
What oil temperature is best for achieving crispy fried foods?
How can I prevent my fried foods from becoming soggy?
What’s the best coating for achieving a crispy exterior?
What are the best oils for deep-frying?
How do I know when the oil is at the right temperature?
Can I reuse frying oil?
What’s the secret to extra crispy fried chicken?
Are there healthier alternatives to deep-frying?
Source Links
- We Got KFC’s Top-Secret Spice Blend for This Fried Chicken Recipe
- The Art of Batter: Mastering Crunchy Perfection – Southern Fry Kings
- The Science Behind Perfect French Fries
- Exploring Crispy, Creamy, and Chewy Elements
- How to Deep Fry at Home With Confidence
- The Best Pro Cooking Tools for Your Home Kitchen
- The Best Oils for Frying, According to a Food Scientist
- The Best Oils for Frying, According to a Chef
- Best Oil for Frying Chicken
- Crispy Fried Chicken
- 8 Brilliant Tips On How To Keep Fried Food Crispy | FSIPL
- The Art of Batter: Mastering Crunchy Perfection – Southern Fry Kings
- How to Make Fried Chicken: Deep-Frying Thermal Tips
- 18 Cooking Tips for Perfect Fried Foods | Food Cuisine Hub
- Texas Deep Frying Guide: Perfect Crispy Results
- Tips For Fried Chicken Perfection + Kate’s Recipe
- Shallow Frying Tips And Tricks: Mastering the Art in 5 Easy Steps! | SMCo
- How to Deep Fry at Home With Confidence
- 7 Mistakes Everybody Makes When Deep Frying
- The Simple Way To Keep Fried Chicken Hot And Crispy For A Cookout – Tasting Table
- Ultimate Free Frying Guide: Cook Like a Pro Chef at Home — Fry Krisp
- How to Deep-Fry Food at Home
- 7 Mistakes Everybody Makes When Deep Frying
- 10 Common Mistakes To Avoid When Cooking Fried Chicken
- Why Frozen Foods Turn Out Oily: Key Frying Mistakes to Avoid
- Is Air-Frying Healthy? Here’s What a Dietitian Says
- Air-Frying Vs Traditional Frying, which is Better for You?
- Commercial Deep Fryer Repairs: How Proper Maintenance Will Save Your Restaurant Money (And A Huge Hassle!)
- Commercial Deep Fryer Cleaning: A Complete Guide | Smart Care
- How to Clean a Deep Fryer
- Skip The Double Fry. Here’s The Real Secret To Perfectly Crispy Korean Fried Chicken – Tasting Table
- Deep Frying on the Blackstone Griddle
- The Secret to a Perfect Southern Fried Chicken
- Crispy Tostones Recipe
- CRISPY Korean Fried Chicken Recipe (in Soy Garlic Sauce!)
- Tips for Perfecting Fried Foods with Brighton Mills Breading & Mixes
- Innovations in Deep Frying: New Tech | KRG Hospitality
- The Art of Deep Frying: Techniques, History, and Health Tips
- The Secret to a Perfect Southern Fried Chicken
- Tips to Make Perfect Potato Fries | Crispy & Golden Fries | – Times of India
- How to Fry an Egg Perfectly Every Time: A Complete Guide

