Table of Contents
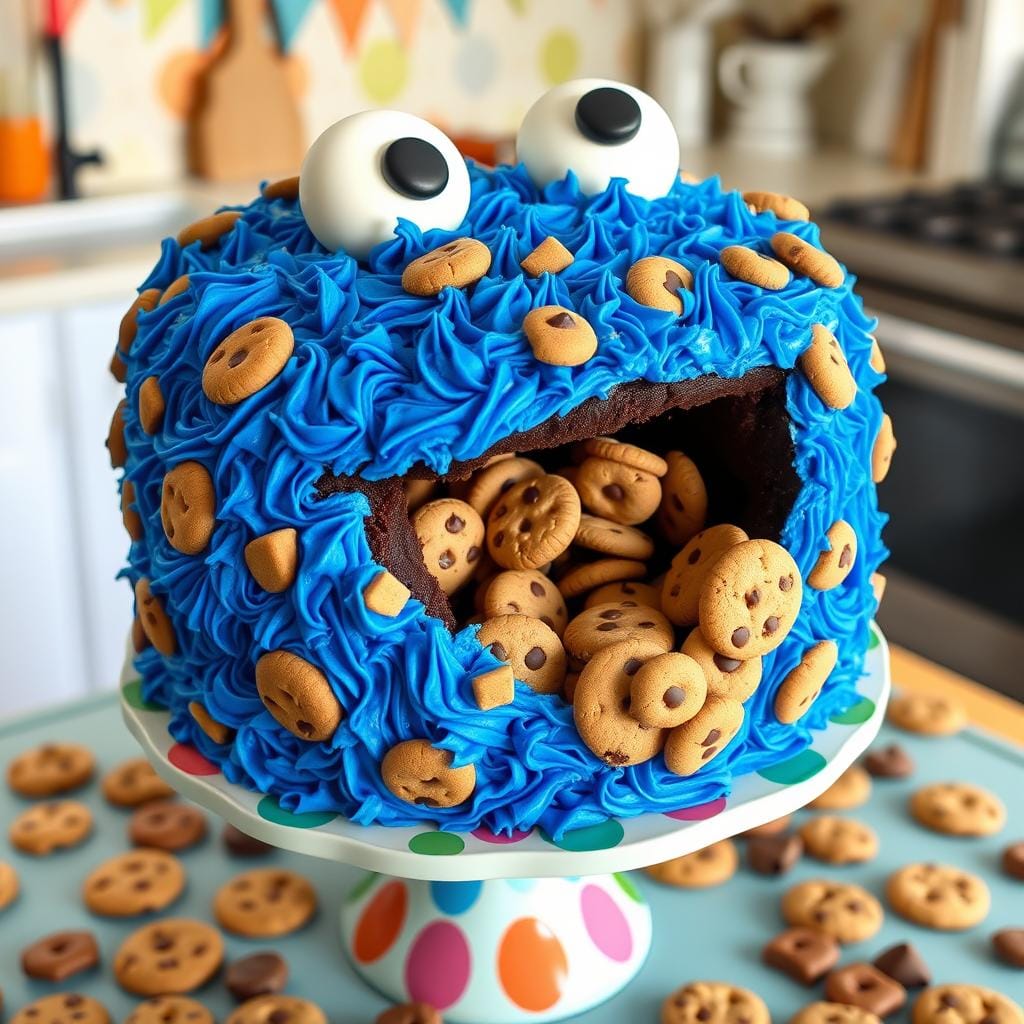
Baking is my way to spread joy. Nothing captures childhood wonder like a Sesame Street-inspired blue fur cake. The Cookie Monster cake is more than a dessert. It’s a celebration of creativity and happiness that turns a simple baking project into a memorable moment.
When I found this amazing Sesame Street cake recipe, I knew it would be a hit with my family. The blue fur cake design is easy yet impressive. It’s great for birthday parties, kid’s events, or just a fun weekend baking project.
This Cookie Monster cake has rich chocolate layers and playful decorations. It brings the beloved character to life. From the vibrant blue frosting to the cookies, every part is designed to spark joy and create lasting memories.
Key Takeaways
- Easy to create with basic baking skills
- Perfect for Sesame Street fans of all ages
- Requires minimal specialized decorating equipment
- Can be customized for different skill levels
- Guaranteed to bring smiles and excitement
Introduction to Cookie Monster Cake
Baking a monster themed cake is more than just making a dessert. It’s about bringing back childhood memories. The Cookie Monster cake is a fun way to celebrate creativity and joy in the kitchen.
What is a Cookie Monster Cake?
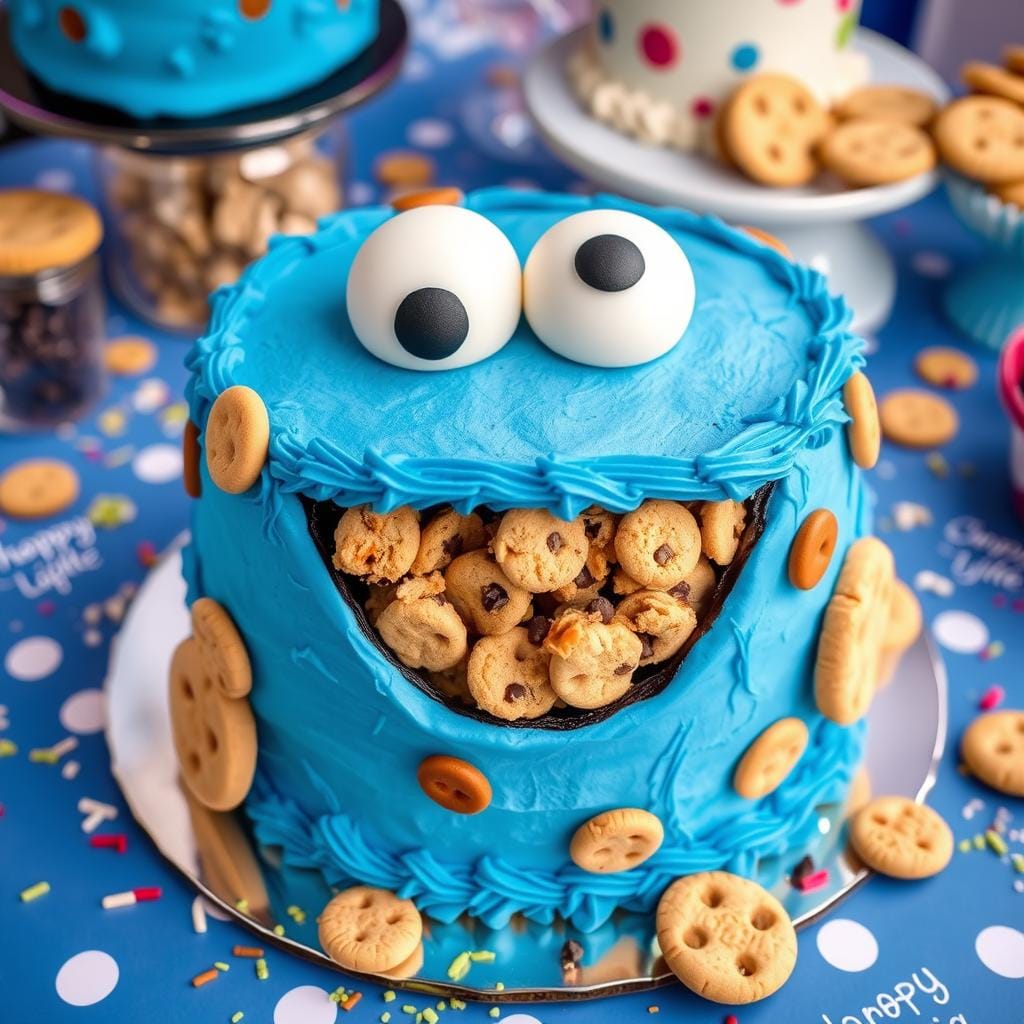
A Cookie Monster cake is a fun dessert inspired by Sesame Street’s beloved character. It turns a simple birthday treat into a special experience. It has:
- Vibrant blue frosting like Cookie Monster’s fur
- Playful googly eye decorations
- Chocolate chip cookies as key design elements
The Story Behind the Cookie Monster
Cookie Monster was created in 1966 and quickly became a Sesame Street icon. His love for cookies and charming personality won hearts around the world. He shows us the joy of loving something with all our heart.
“Me want cookie!” – Cookie Monster
Why I Love Making This Cake
| Reason | Explanation |
|---|---|
| Creativity | Allows for unique decorative techniques |
| Kid-Friendly | Brings smiles to children’s faces |
| Nostalgia | Connects adults to childhood memories |
Every time I make a monster themed cake, I feel the joy of baking. Turning simple ingredients into a character-inspired masterpiece is magical.
Ingredients You’ll Need
Making the perfect kids birthday cake is all about choosing the right ingredients. My Cookie Monster cake is a fun project that makes any party special. Let’s look at the key ingredients that make baking a joy.
Essential Ingredients for the Cake Base
To make an amazing character cake, you’ll need these basic ingredients:
- 3.5 cups all-purpose flour
- 2 large eggs
- 1 cup unsalted butter
- 1 teaspoon baking soda
- 1/2 teaspoon salt
- 2 teaspoons cornstarch
Special Decorative Ingredients
The magic of a Cookie Monster cake comes from its bright blue frosting and fun decorations:
| Decoration Item | Quantity |
|---|---|
| Sapphire Sky blue gel food color | 7 drops |
| Blueberry gel food color | 3 drops |
| White chocolate chips | 1 cup |
| Milk chocolate chips | 1 cup |
Recommended Baking Tools
Getting ready for this character cake needs some key tools:
- Large mixing bowls
- Electric mixer
- Cake pans (8-inch round recommended)
- Offset spatula
- Piping bags
- Cooling rack
“The right ingredients make all the difference in creating a memorable kids birthday cake!”
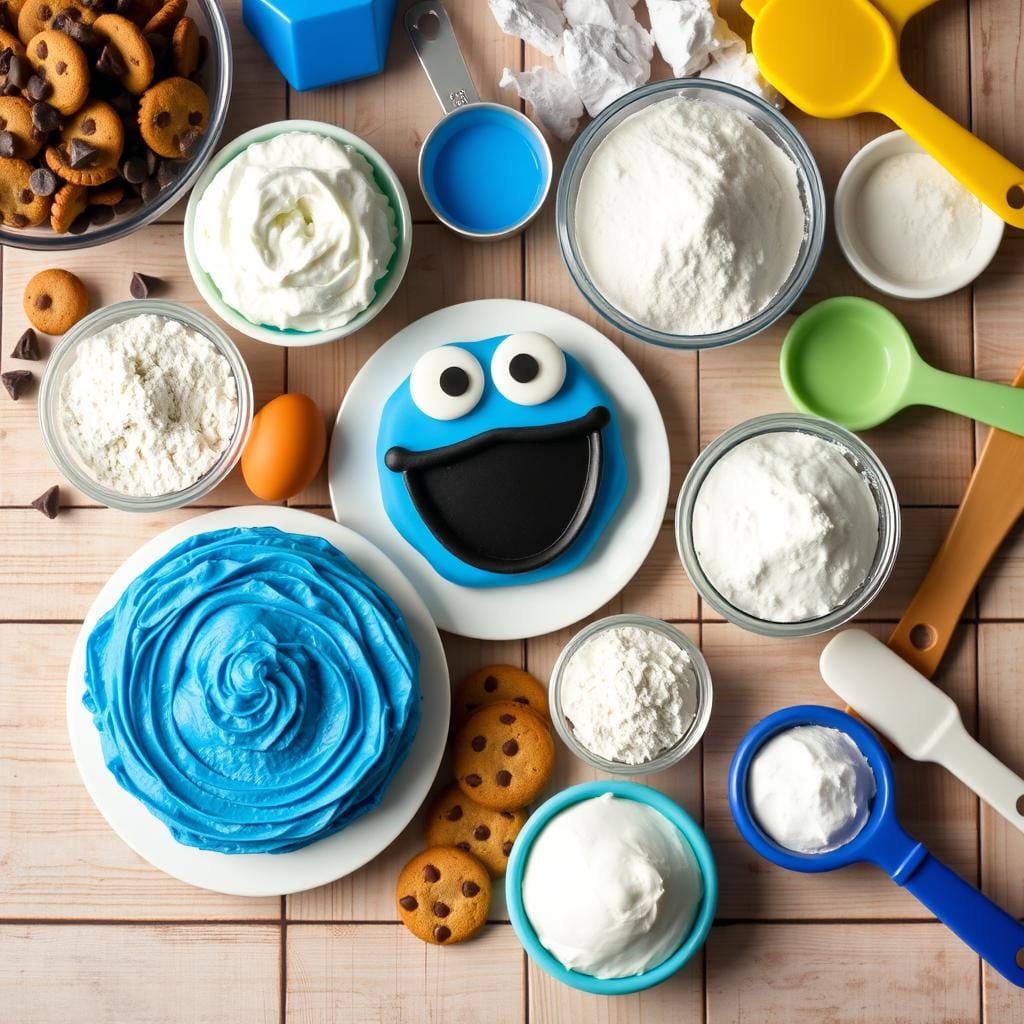
I love making unique character cakes. I want to share these special ingredients with you. Each one is important in bringing Cookie Monster to life on your dessert table.
Step-by-Step Baking Instructions
Making a perfect novelty cake needs care and love. My Cookie Monster cake journey begins with careful prep and detail. Let’s go through the baking steps to make sure your cake is amazing!
Preparing the Cake Batter
To make this delightful cake, you’ll need these ingredients:
- 2 cups all-purpose flour
- 2 teaspoons cornstarch
- 1 teaspoon baking soda
- 1/2 teaspoon sea salt
- 1 1/2 sticks unsalted light butter
- 1/2 cup light brown sugar
- 1 large egg
- 2 teaspoons vanilla extract
Mixing and Preparing
First, mix the dry ingredients in one bowl. In another, mix the butter and sugar until it’s light and fluffy. Add the egg and vanilla extract. Slowly fold the dry ingredients into the wet mix for a smooth batter.
Baking the Cake Layers
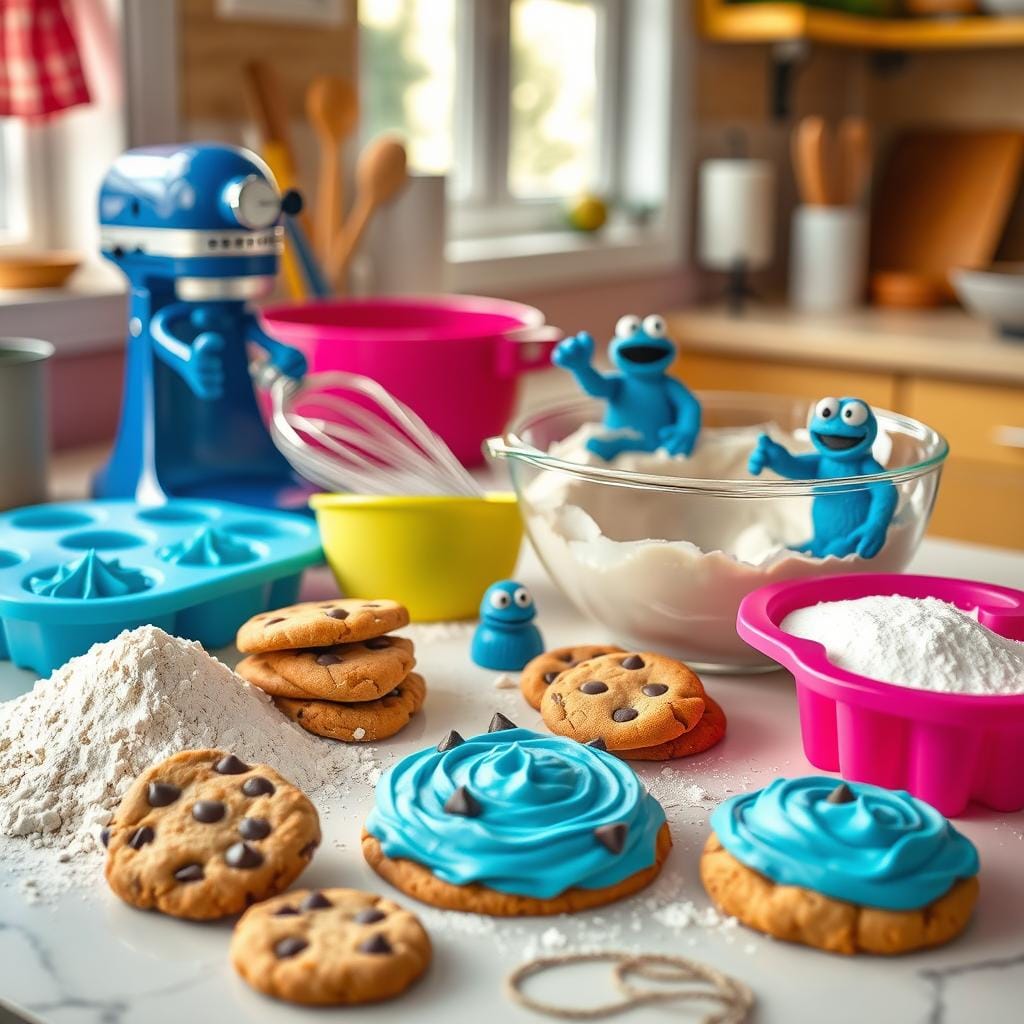
Heat your oven to 350 degrees Fahrenheit. Grease two 9-inch pans well. Split the batter evenly between the pans for smooth surfaces.
Baking Time and Temperature
- Bake for 25-30 minutes
- Check doneness with a toothpick
- Edges should be golden brown
- Center should spring back when touched
Cooling the Cake
Let the cake layers cool in the pans for 10 minutes after baking. Then, remove them and place on a wire rack. Patience is key! Let the cakes cool completely before frosting.
“Baking is love made visible” – Unknown
Pro tip: For the best results, make sure your cake is cool before frosting. Warm layers can mess up your decoration.
Making the Cookie Monster Frosting
To make a buttercream cake that looks like Cookie Monster’s fur, you need to pay close attention. I’ll show you how to make a frosting that’s both vibrant and tasty. It will capture the spirit of Cookie Monster, everyone’s favorite cookie lover.
Selecting the Right Blue Food Coloring
Getting the right blue color is key for a Cookie Monster look. Use gel food coloring for the best color. Start with about 7 drops of Sapphire Sky and 3 drops of Blueberry gel food coloring. This mix will give you that iconic blue fur effect.
- Use gel food coloring for more vibrant results
- Mix different blue shades for depth
- Add color gradually to control intensity
Achieving the Perfect Buttercream Consistency
For a smooth frosting, follow these tips:
- Use room temperature butter (1 cup unsalted)
- Gradually add 2 ½ cups powdered sugar
- Incorporate 3 tablespoons heavy cream
- Mix until light and fluffy
“The secret to great frosting is patience and careful mixing!” – Professional Baker
Enhancing Frosting Flavor
To make your cake even tastier, try these tips:
- Add 1 teaspoon vanilla extract
- Fold in crushed Oreo cookies
- Experiment with different extracts
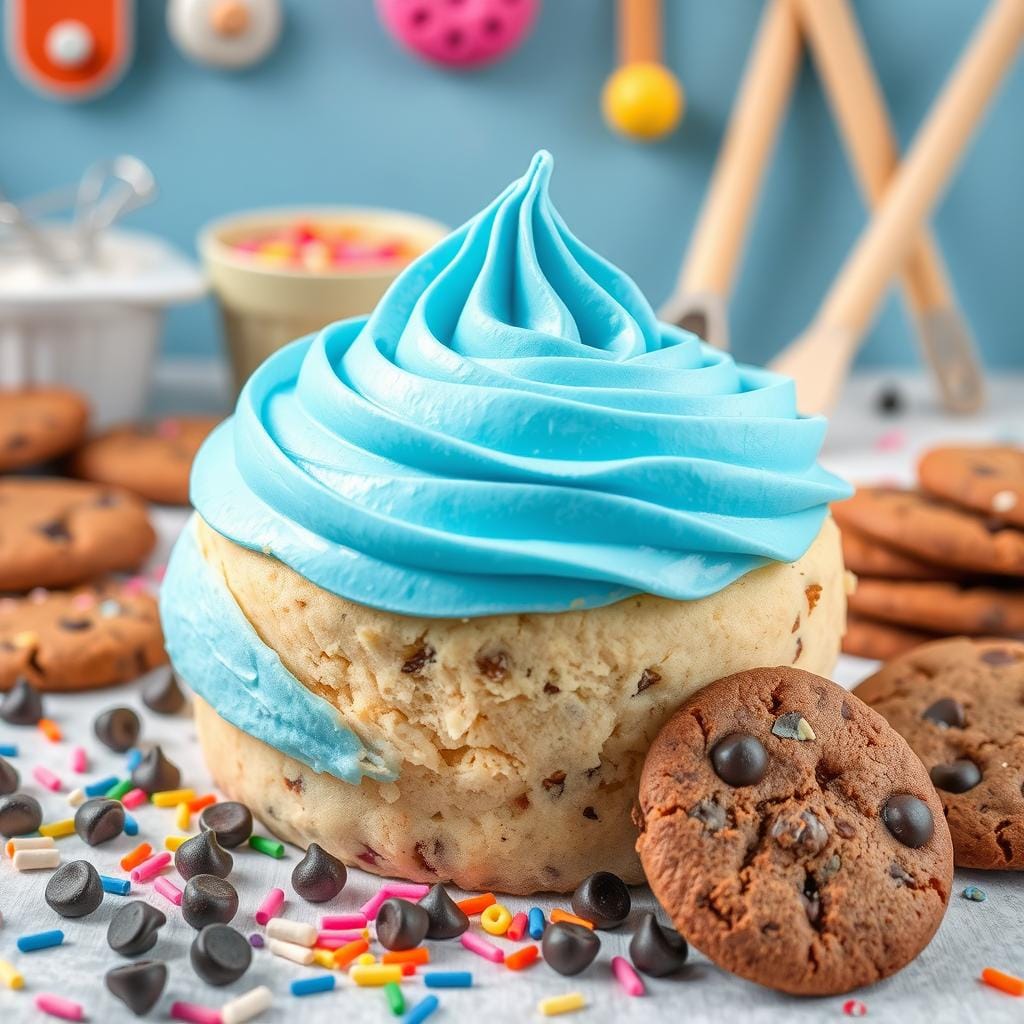
Pro tip: Chill the buttercream for 15-20 minutes before decorating. This will help you get the perfect texture for Cookie Monster’s fur-like peaks and swirls. It makes the cake truly special.
Assembling Your Cookie Monster Cake
Making a Cookie Monster cake needs care and creativity. I’ll show you how to turn your cake layers into a fun monster cake. It will impress kids and adults alike.
Layering with Delicious Precision
Begin by getting your cake ready. Use a cake turntable for easy frosting. Put your first cake layer on a strong cake board. The baking skills you’ve learned will shine here.
- Apply a thin crumb coat of blue buttercream
- Chill the cake for 5-10 minutes to set the layer
- Make sure frosting is spread evenly
Crafting the Iconic Cookie Monster Face
To get the Cookie Monster’s look, I use the Wilton 233 piping tip. This tool makes the cake’s fur look real.
| Decoration Element | Materials Needed |
|---|---|
| Eyes | Chocolate chip cookies, gummy eyes |
| Fur Texture | Blue buttercream, Wilton 233 tip |
| Mouth | Crumbled chocolate chip cookies |
Techniques for a Smooth Finish
Getting a smooth cake takes time. Use a bench scraper for even sides. Pro tip: Keep your frosting tools warm with hot water for the smoothest application!
Decorating with Cookies and Other Treats
Making a googly eyes cake is all about the details. When I started making my Sesame Street cake, I found some cool tricks. These tricks helped bring Cookie Monster to life with tasty decorations.
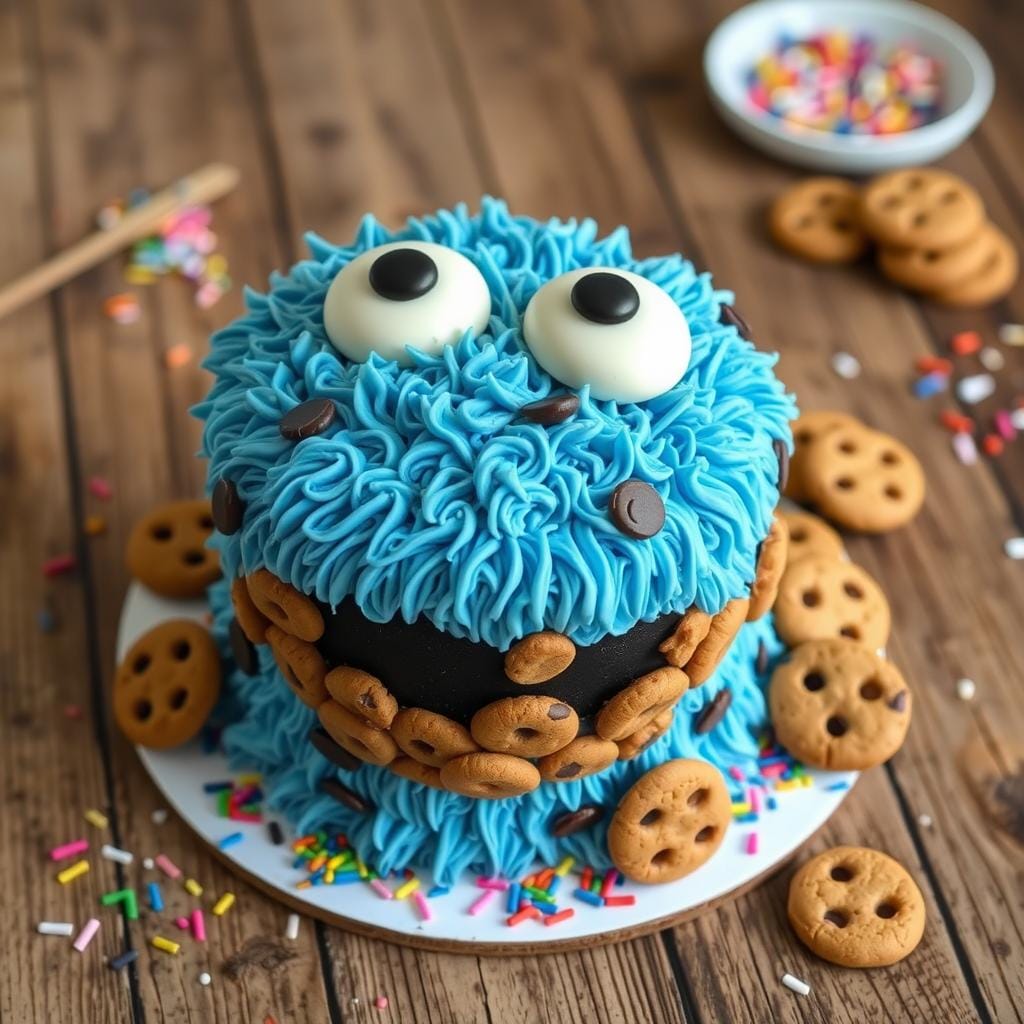
Choosing the right cookies is key for a real Cookie Monster look. I picked a mix of cookies for texture and personality.
Selecting the Best Cookies
- Oreo cookies for the classic Cookie Monster eyes
- Mini Chips Ahoy for creating a fun border
- Chocolate chip cookies for additional texture
Creating Iconic Googly Eyes
The secret to perfect googly eyes is simple. I use two easy methods:
- Split an Oreo cookie in half
- Place a chocolate chip in the center for the pupil
- Position the eyes strategically on the cake
Extra Decoration Fun
To make your Sesame Street cake stand out, add some fun touches:
| Decoration Type | Placement | Effect |
|---|---|---|
| Chocolate Chips | Around Eyes | Creates Texture |
| Mini Cookies | Cake Border | Adds Whimsy |
| Fondant Accents | Background | Enhances Theme |
“The key to an amazing Cookie Monster cake is letting your creativity shine!” – Cake Decorating Enthuasiast
Pro tip: Always have extra cookies on hand for snacking during the decorating process!
Fun Variations of the Cookie Monster Cake
Making a novelty cake for kids’ birthday parties is a fun adventure! The Cookie Monster cake is a great base for creativity and personal touches. Let’s explore some ways to make this classic treat truly unique and memorable.
Exciting Cake Flavor Variations
While vanilla cake is great, feel free to try other flavors. Here are some tasty options:
- Cookies and cream cake base
- Chocolate chip cake
- Funfetti cake with colorful sprinkles
- Cookie dough-inspired cake
Alternative Frosting Options
The frosting can make your kids birthday cake really special. Try these creative alternatives to blue buttercream:
- Cream cheese frosting
- Chocolate buttercream
- Marshmallow frosting
- Whipped cream frosting
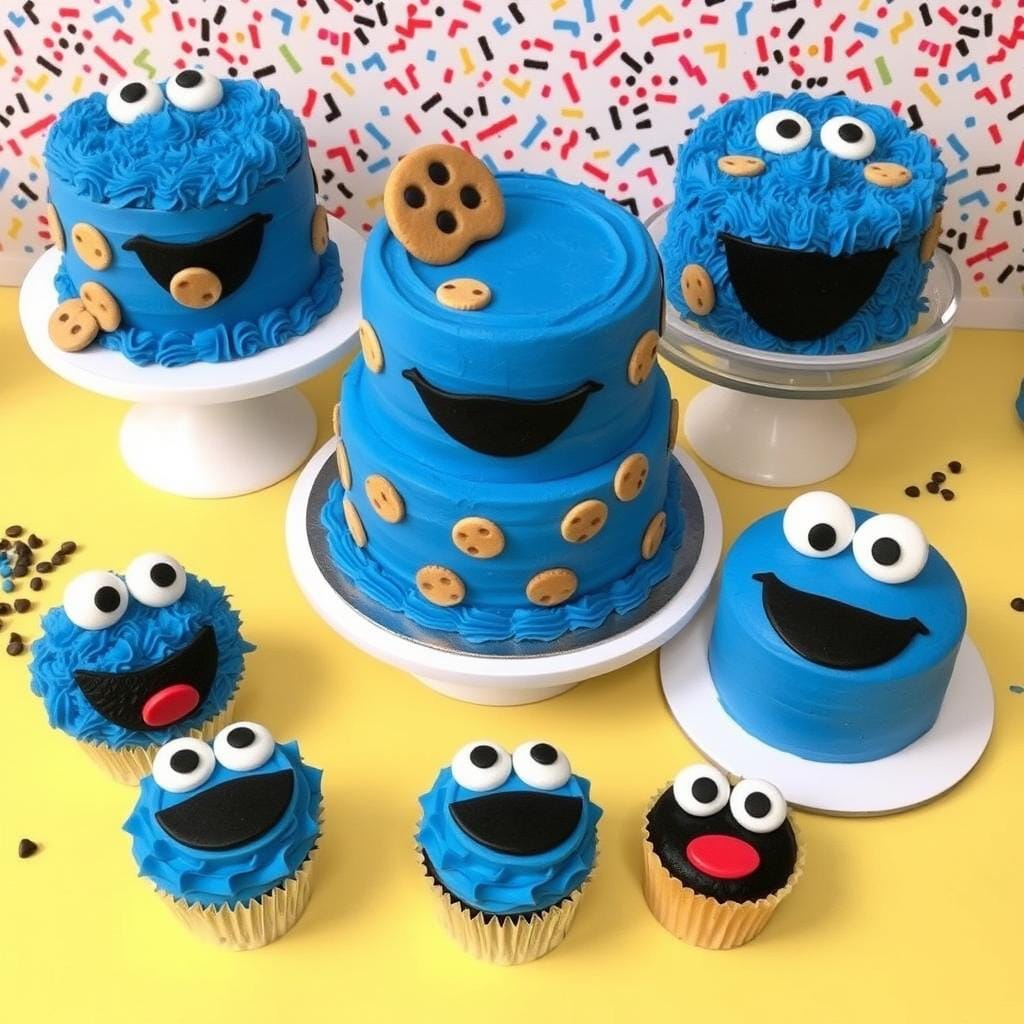
Seasonal Decoration Ideas
Make your novelty cake festive for any season or holiday:
| Season/Holiday | Decoration Idea |
|---|---|
| Halloween | Add spooky candy eyes and black spider sprinkles |
| Christmas | Use red and green cookie decorations |
| Summer | Incorporate beach-themed cookie decorations |
| Birthday Party | Personalize with child’s favorite cookie types |
Pro tip: Always have fun and let your creativity shine when designing your Cookie Monster cake!
Storing and Serving Your Cookie Monster Cake
Making a Cookie Monster cake is just the start. How you store and serve it can really make a difference. It keeps the cake tasting great and looking amazing.
Best Practices for Cake Storage
Storing your cake right is important. I suggest using an airtight container to keep it fresh. Here are some tips:
- Refrigerate the cake for 3-5 days maximum
- Use a cake carrier with a tight-sealing lid
- Keep away from strong-smelling foods
Freezing Your Cake
Freezing is a great way to enjoy your Cookie Monster cake later. Freeze your cake for up to 2 months by following these steps:
- Wrap the cake tightly in plastic wrap
- Add a layer of aluminum foil
- Place in a freezer-safe container
- Thaw overnight in the refrigerator before serving
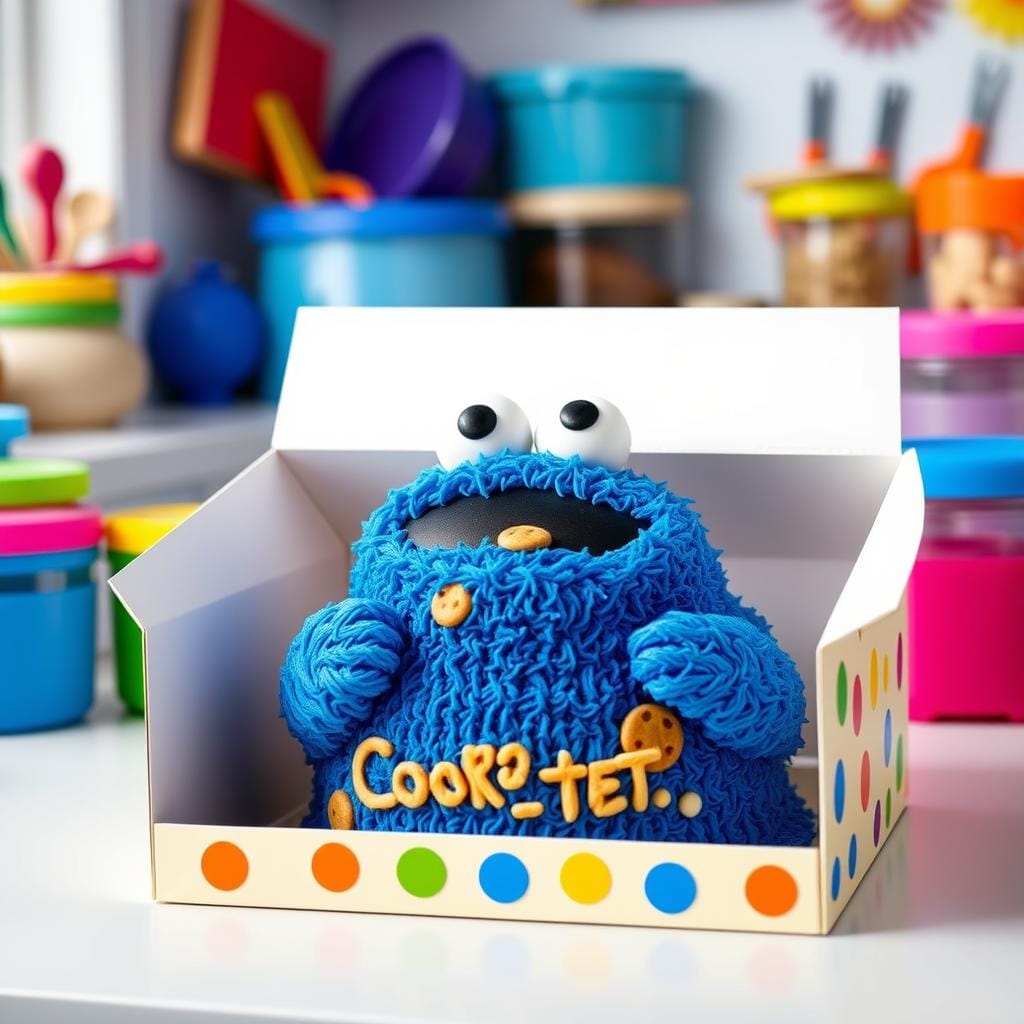
Serving Suggestions
Pro tip: For the best taste and texture, remove the cake from the fridge 30 minutes before serving. This lets the buttercream soften and the flavors shine.
“A well-stored cake is a delicious cake!” – Every Baker’s Motto
Follow these tips, and your Cookie Monster cake will stay fresh and delicious. It will impress everyone who sees it!
Ideas for Cookie Monster-Themed Parties
Planning a kids birthday cake celebration is exciting, even more so with a monster themed cake. It’s a chance to create a Cookie Monster extravaganza that everyone will remember!
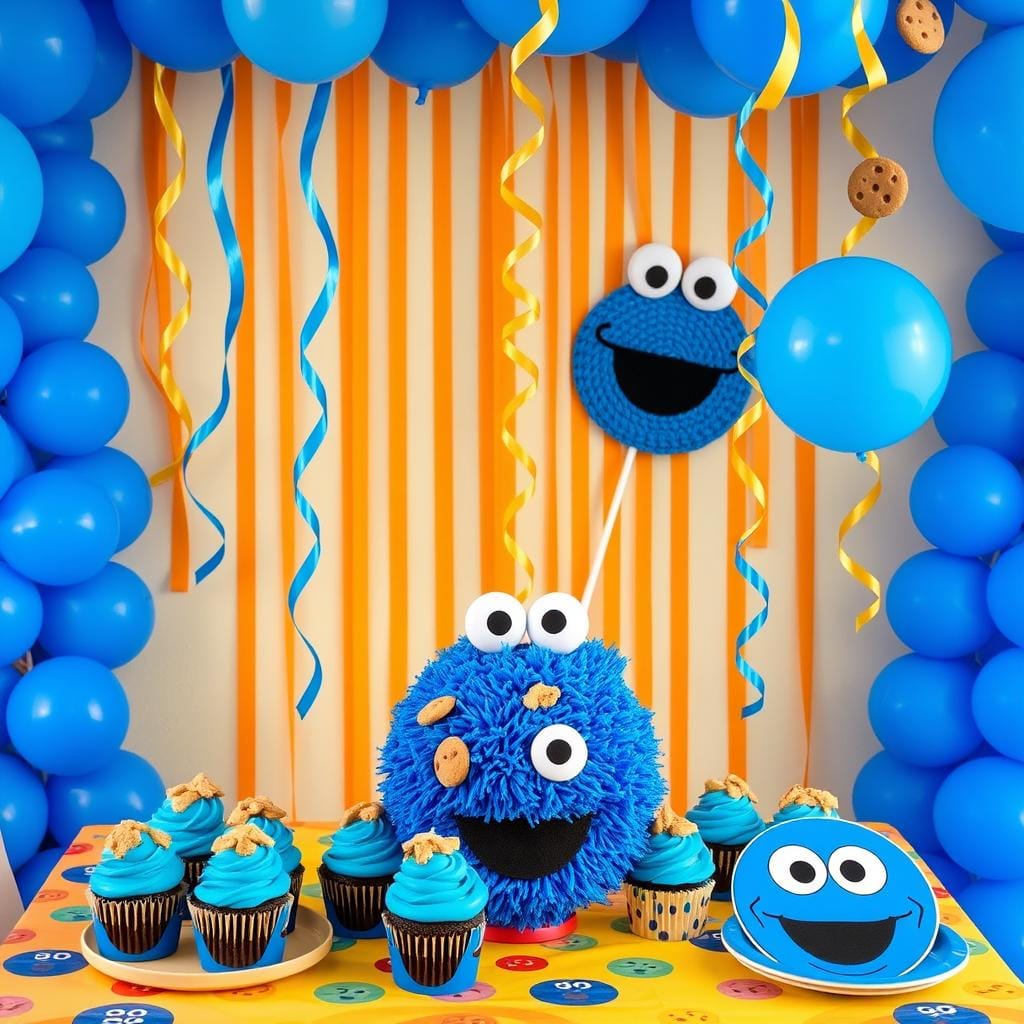
Party Decor That Delights
Turn your space into a Cookie Monster paradise with these ideas:
- Blue balloons and streamers
- Cookie-shaped cardboard cutouts
- Sesame Street character standees
- Blue and white tablecloths
Engaging Activities for Young Guests
Keep kids entertained with these fun party games:
- Cookie decorating station
- Pin the Cookie on Cookie Monster
- Cookie monster costume photo booth
- Cookie scavenger hunt
The Centerpiece Magic
Your monster themed cake is more than just dessert. It’s the party’s highlight! Place it where everyone can see it to create a wow factor.
| Party Element | Recommended Details |
|---|---|
| Cake Size | 3 layers, serves 12-15 kids |
| Decoration Style | Blue frosting, googly eyes, cookie accessories |
| Additional Treats | Mini chocolate chip cookies as garnish |
Pro tip: Make sure your kids birthday cake design matches the party theme. It makes the experience more memorable!
“The best parties are the ones where imagination runs wild!” – Cookie Monster
Frequently Asked Questions
Creating a Cookie Monster cake can be tricky. I’ll guide you through common issues and share tips for a perfect blue fur cake!
Common Mistakes to Avoid
Making a great Cookie Monster cake needs careful attention. Here are some mistakes to avoid:
- Don’t overmix the batter to avoid a tough cake
- Apply frosting to a cool cake layer
- Be careful with food coloring amounts
- Always measure ingredients correctly
Dietary Modifications
My blue fur cake recipe can be changed for different diets:
| Dietary Requirement | Substitution |
|---|---|
| Gluten-Free | Use gluten-free flour blend |
| Vegan | Replace eggs with flax eggs, use plant-based butter |
| Dairy-Free | Use coconut milk, dairy-free chocolate chips |
Best Practices for Beginners
Don’t worry if you’re new to baking! Here are some easy tips:
- Toast raw flour in the oven for safety
- Use finely ground oats in cookie dough frosting
- Chill sticky dough for 30 minutes
- For the best blue, use 7 drops of Sapphire Sky and 3 drops of Blueberry food coloring
“Baking is about passion, not perfection!” – My Baking Mantra
Every baker starts from scratch. Your Cookie Monster cake might not be perfect at first. But it will always be made with love!
Why I Recommend This Recipe
Baking is more than mixing ingredients for me. It’s about making magical moments, like creating a character cake that makes kids happy. The Sesame Street cake experience is truly special.
Creating a memorable character cake is about the journey, not just the end result. When I bake this Cookie Monster cake with kids, something magical happens. Their excitement turns a simple baking session into an unforgettable adventure.
The Joy of Baking Together
Baking this character cake offers incredible benefits:
- Teaches children basic cooking skills
- Encourages creativity and imagination
- Builds family bonding time
- Creates fun Sesame Street cake memories
Creating Lasting Memories
“Baking is love made edible” – Unknown
Every time I make this cake, I’m not just preparing a dessert. I’m crafting memories that will last a lifetime. The giggles, the messy blue frosting, the excitement of decorating – these moments are priceless.
Satisfaction of a Homemade Treat
There’s something incredibly satisfying about creating a homemade character cake from scratch. Compared to store-bought options, this Sesame Street cake offers:
- Personal touch
- Fresh ingredients
- Customizable design
- Sense of accomplishment
The effort you put into baking transforms a simple dessert into an extraordinary experience.
Final Thoughts on Cookie Monster Cake
Creating monster themed cakes has been a joy. Each cake tells a unique story. The Cookie Monster cake is more than a dessert; it’s a canvas for creativity and joy.
Baking this special treat taught me a lot. I learned that enjoying the process is more important than perfection. Every mistake makes your creation unique.
- Perfection isn’t the goal – enjoyment is
- Every imperfection adds character to your creation
- Baking is about expressing yourself
Reflecting on My Baking Journey
When I started making monster themed cakes, I was scared. Now, I see baking as an art where imagination meets skill. The Cookie Monster cake opened doors to more creative desserts.
Encouraging Others to Try It
“Baking is love made edible” – Unknown
Don’t be scared to try new things with your cakes. Start simple, learn from mistakes, and remember, each cake has a story. Your unique touch makes it special.
Embracing Creativity in Baking
| Baking Skill | Benefit |
|---|---|
| Creativity | Unlimited design possibilities |
| Patience | Improved technique |
| Experimentation | Personal growth |
A monster themed cake is more than looks. It’s about the love and fun you put into it. Let your imagination soar!
Where to Find More Baking Inspiration
After making your kids birthday cake, you might want more baking fun. The world of cake decorating is huge and fun. It’s perfect for making googly eyes cakes that kids love!
Favorite Baking Blogs to Follow
Here are some top baking blogs for inspiration:
- Sweetapolita – Known for whimsical cake designs
- Sally’s Baking Addiction – Provides detailed tutorials
- Cake Decorating Magazine Online – Professional tips and tricks
Must-Have Cookbooks for Beginners
For beginners, these cookbooks are great. They cover basic techniques and creative designs:
- Cake Decorating Made Easy by Wilton
- The Complete Cake Decorating Handbook
- Kids’ Party Cake Designs
Online Communities for Support
Joining baking communities can be very helpful. Here are some online places to connect:
| Community Platform | Focus Area |
|---|---|
| Facebook Baking Groups | Cake Decorating Discussions |
| Reddit r/Baking | Skill Sharing |
| Instagram Hashtag Communities | Visual Inspiration |
“Baking is love made edible” – Unknown
Remember, every great baker began where you are now. Keep practicing, stay curious, and most importantly, have fun making treats that make people smile!
Conclusion
Making a Cookie Monster cake is more than baking. It’s about adding joy and creativity to your kitchen. You can use buttercream or try a fondant cake design. This recipe is a fun way to spark your imagination and make memories with loved ones.
I hope this guide has inspired you to become a better baker. The Cookie Monster cake is great for all bakers. It adds a playful twist to traditional cake decorating.
I’m excited to see your Cookie Monster cake! Share a photo of your creation with our baking community. Every unique take on this character makes cake decorating more fun. Your personal touch can make this recipe unforgettable.
Your Baking Journey Continues
The most important thing in a Cookie Monster cake is the love you put into it. Whether you’re experienced or just starting, this recipe invites you to explore and enjoy cake design. It’s all about having fun and experimenting.
FAQ
How difficult is it to make a Cookie Monster cake?
Can I make this cake for someone with dietary restrictions?
How far in advance can I make the Cookie Monster cake?
What type of food coloring works best for the blue fur effect?
Can kids help decorate the Cookie Monster cake?
How do I prevent the cake from looking messy when creating the blue fur?
What alternatives can I use for cookie decorations?
How long does it take to make this cake from start to finish?
Source Links
- Cookie Monster Cookies
- Ultimate Cookie Monster Cake – Baking Beauty
- Cookie Monster Cupcakes – Easy Step-By-Step Tutorial!
- The Sugar Art, Inc.
- The Sugar Art, Inc.
- Giant Monster Cookie
- Lightened-Up Cookie Monster Cookie Cake — The Skinny Fork
- The Sugar Art, Inc.
- The Sugar Art, Inc.
- Ultimate Cookie Monster Cupcakes – Baking Beauty
- Cookie Monster Cakesicles for a Sesame Street Party
- How To Make A Super Cute Easy Monster Cake
- Cookie Monster Cake: A Fun Delight for Every Occasion! – Cake-ideas
- The Sugar Art, Inc.
- Cookie Monster Cake Mix Cookies
- Cookie Monster Cookies
- Cupcakes, Cakes, Cookies, And More! | Forever Sweet Bakery
- The Sugar Art, Inc.
- The Sugar Art, Inc.
- Cookie Monster Cookiesrn
- Cookie Monster Traybake
- Cookie Monster Cupcakes (Delightful Treats To Brighten Your Celebrations)
- The Sugar Art, Inc.
- Cookie Monster Cheesecake — The Skinny Fork
- The Sugar Art, Inc.

